
OIL PAN
D-7prose procedureRemoval Note
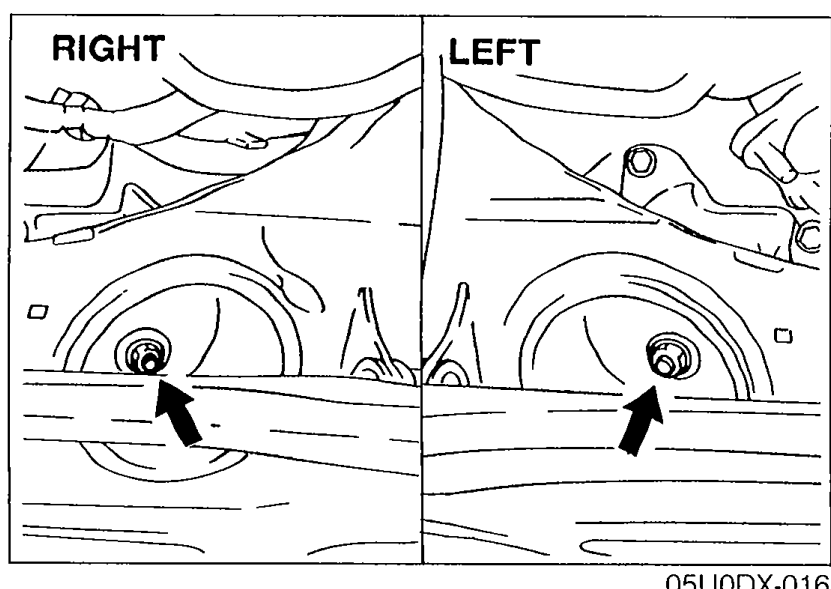
Engine mount nut
Engine mount nut removal
- 1Loosen the oil pan mounting bolts.
 05U0DX-016
 - 2Remove the engine mount nuts.
- 3Lift the engine slightly with a hoist.
Crossmember installation bolt and nut
Crossmember installation bolt and nut removal
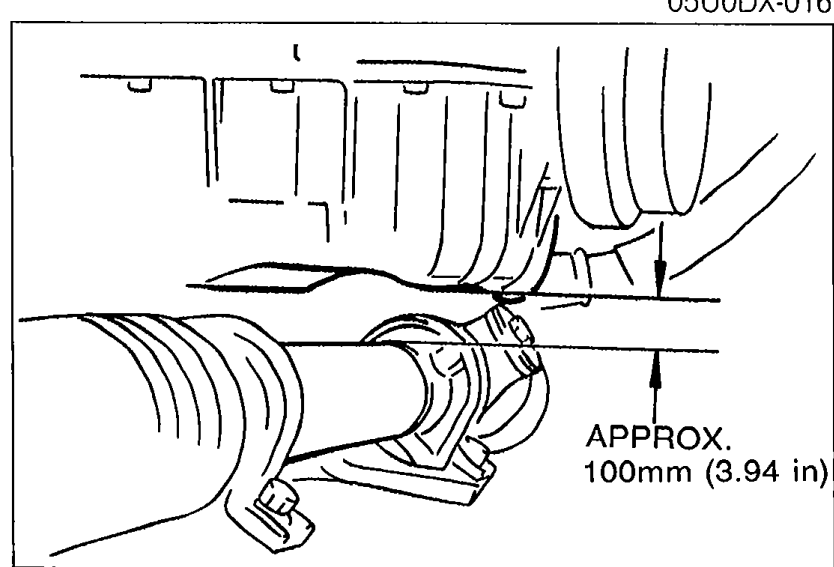
- 1Support the crossmember with a transmission jack.
- 2Remove the crossmember installation bolts and nuts.
- 3Lower the crossmember until the clearance between the oil pan and the steering gear housing exceeds approx. 100mm (3.94 in).
 05U0DX-017
CAUTION
Do not damage the brake hoses, P/S hoses, and A/C hoses when lowering the crossmember.
NOTE
Lower the crossmember after separating the steering intermediate shaft from the pinion shaft.
Oil pan
Oil pan removal
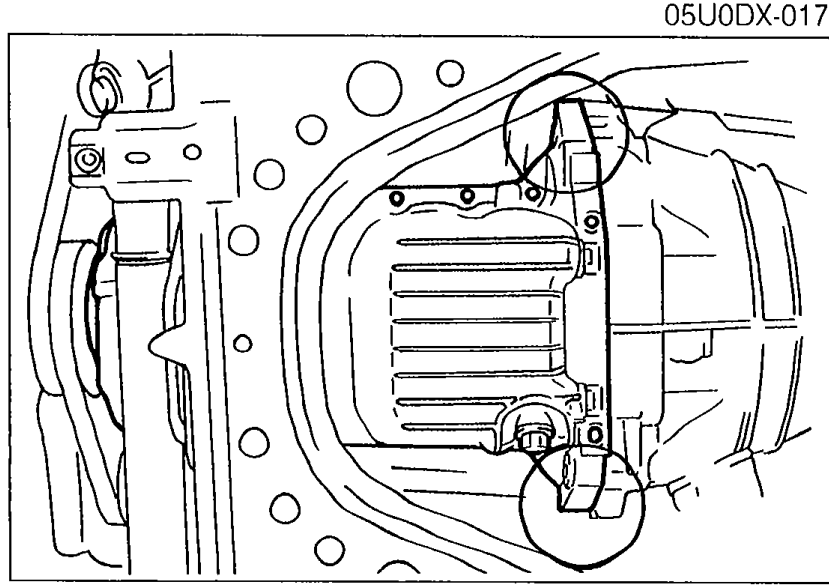
- 1Remove the oil pan mounting bolts.
- 2Insert a screwdriver or a suitable tool only at the points shown in the figure.
 05U0DX-105
 - 3Remove the oil pan.
CAUTION
Do not force a prying tool between the cylinder block and the oil pan, which may damage the contact surfaces.
Do not damage or scratch the contact surfaces when removing the old sealant.
Oil pan baffle
Oil pan baffle removal
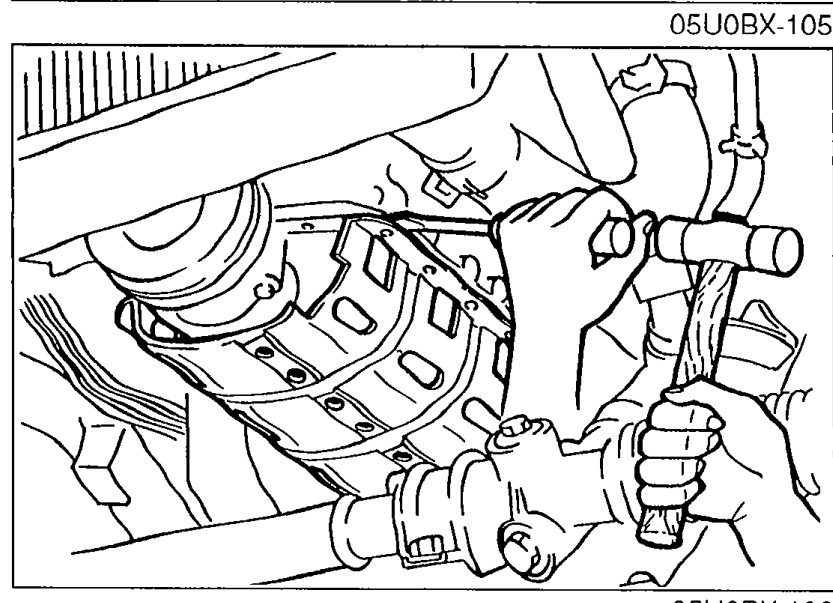
- 1Insert a screwdriver or other suitable tool between the cylinder block and the baffle to separate them.
 05U0DX-106
 - 2Remove the baffle.
CAUTION
Do not bend the baffle when prying it loose.
Installation Note
Oil pan baffle
Oil pan baffle installation
- 1Remove all foreign material from the contact surfaces.
- 2Apply a continuous bead of silicone sealant to the baffle along the inside of the bolt holes.
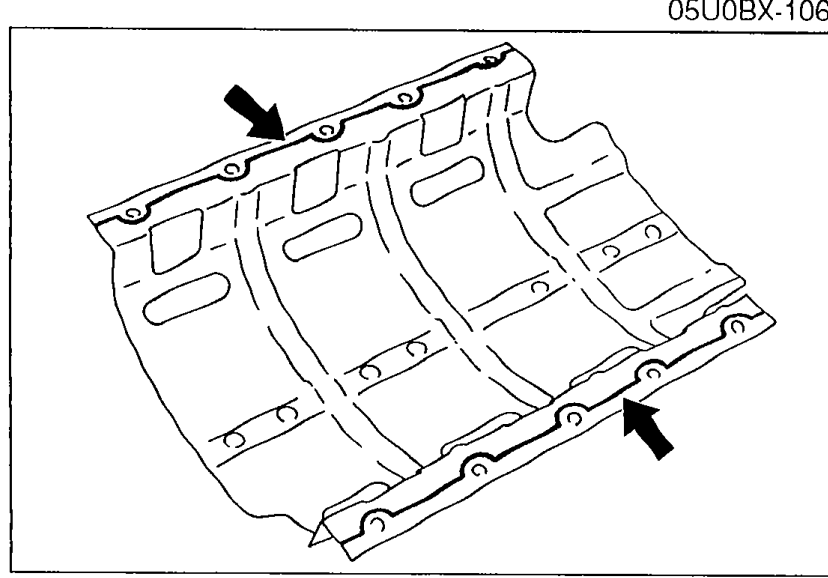 05U0DX-018
 - 3Install the baffle.
CAUTION
The oil pan must be secured within 30 minutes after the sealant is applied to the baffle.