
WATER THERMOSWITCH
E-13prose procedureREMOVAL / INSPECTION / INSTALLATION
CAUTION
Obtain the code number and deactivate the audio anti-theft system before disconnecting the battery. (Refer to page T-113.)
Removal / Inspection / Installation
- 1Disconnect the negative battery cable.
- 2Remove in the order shown in the figure.
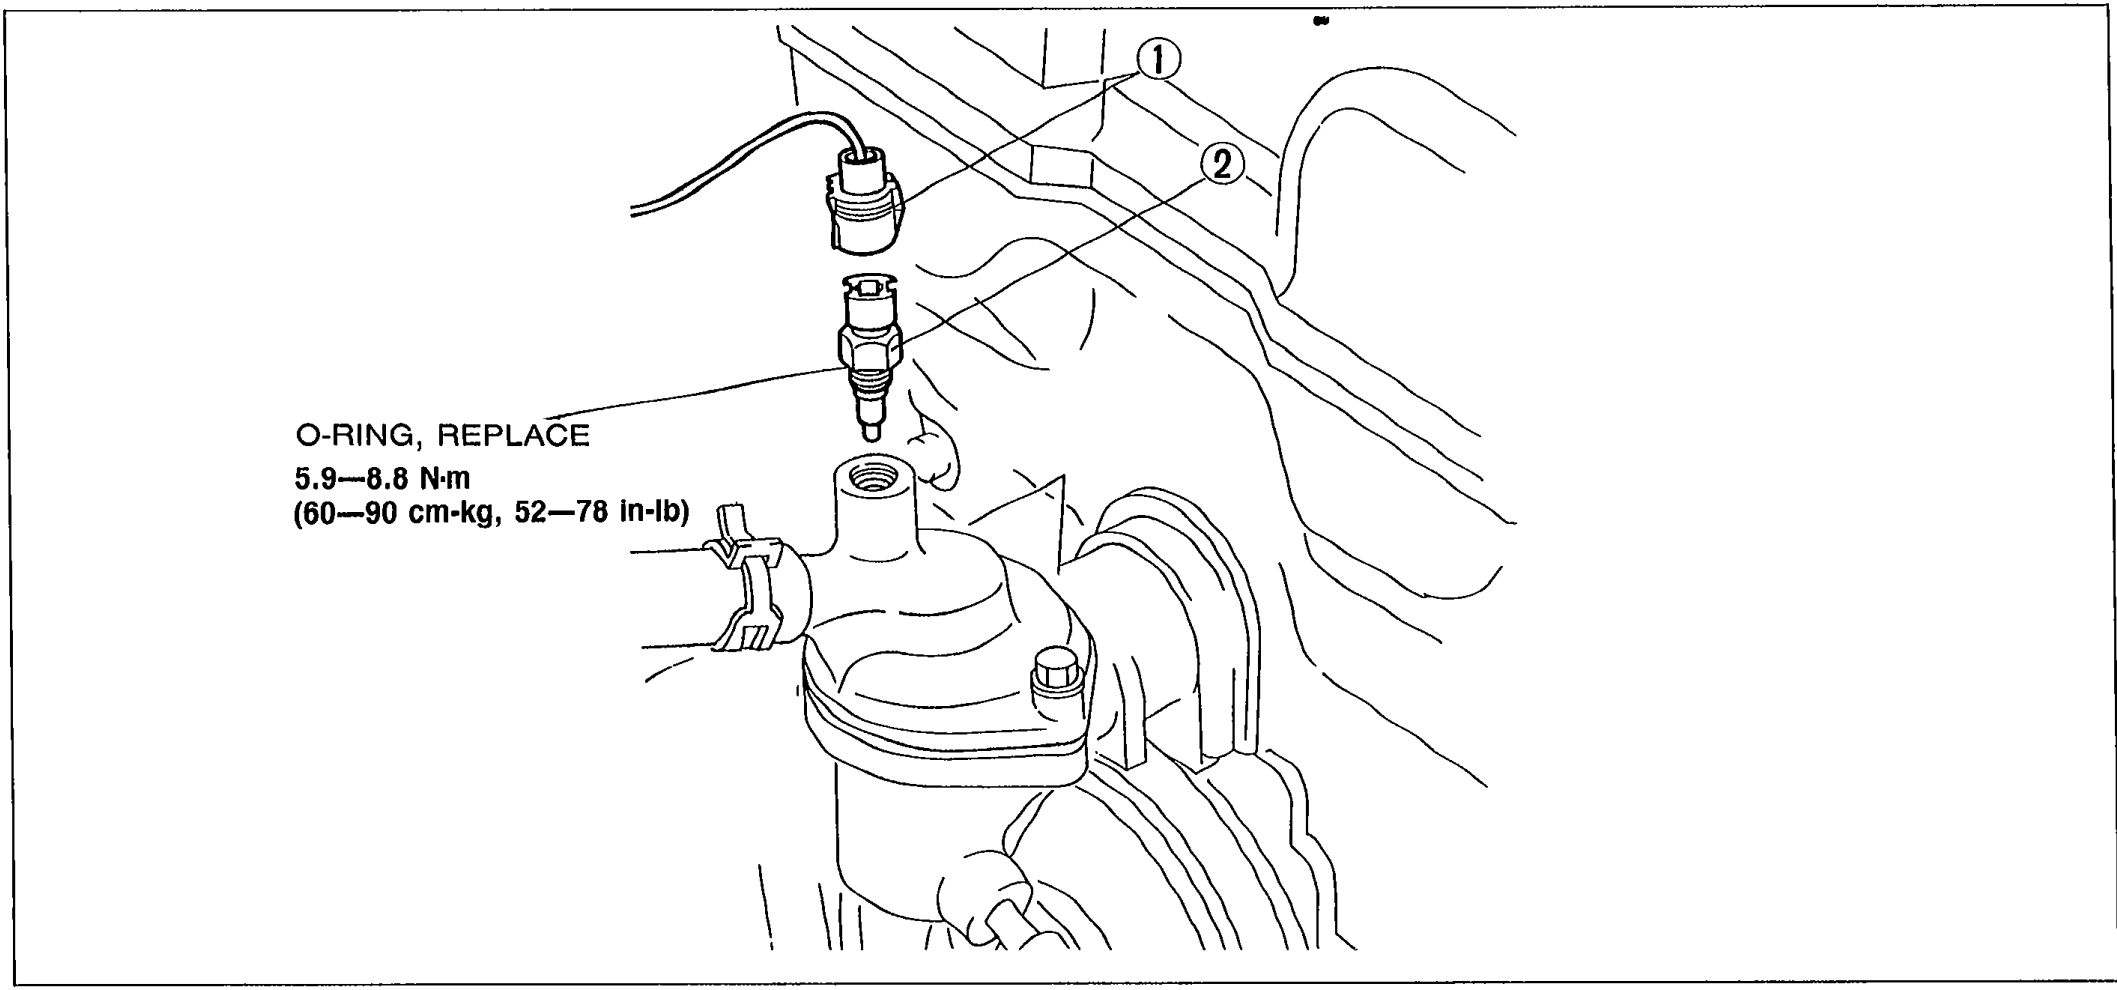 05U0EX-029
 - 3Install in the reverse order of removal, referring to Installation Note.
Parts DiagramFig. fig1
Inspection
- 1Place the switch and a thermometer in water.
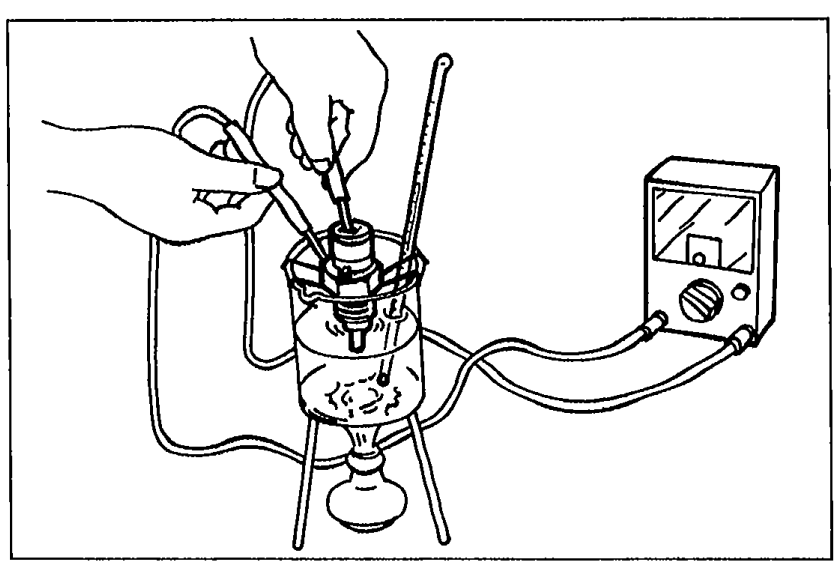 05U0EX-030
 - 2Heat the water gradually and check continuity of the switch with an ohmmeter.
- 3If not as specified, replace the water thermoswitch.
Water thermoswitch continuity
More than 97 (207)
ContinuityYes
Less than 90 (194)
ContinuityNo
Installation Note
Water thermoswitch
Installation Note - Water thermoswitch
- 1Apply a small amount of engine coolant to the new O-ring.
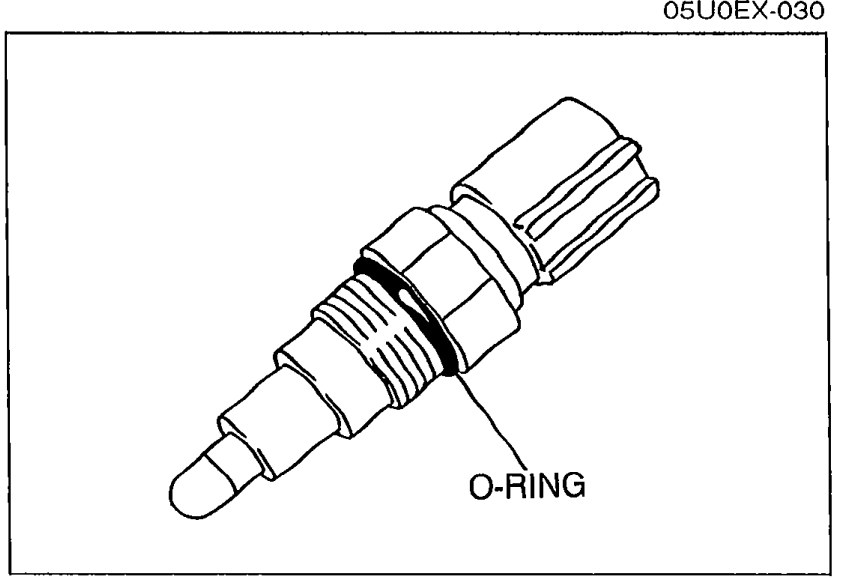 05U0EX-031
 - 2Install the water thermoswitch.Do not use an impact wrench for installation.
| Specification | Value |
|---|---|
| Water thermoswitch | ≈58 - 86N·m |
Water thermoswitch
58 - 86N·m