
CLUTCH MASTER CYLINDER
H-8prose procedureREMOVAL / INSTALLATION
CAUTION
Clutch fluid will damage painted surfaces. Be sure to use a container or rags to collect it. If fluid does get on a painted surface, wipe it off immediately with a rag.
Clutch Master Cylinder Removal / Installation
- 1Remove in the order shown in the figure, referring to Removal Note.
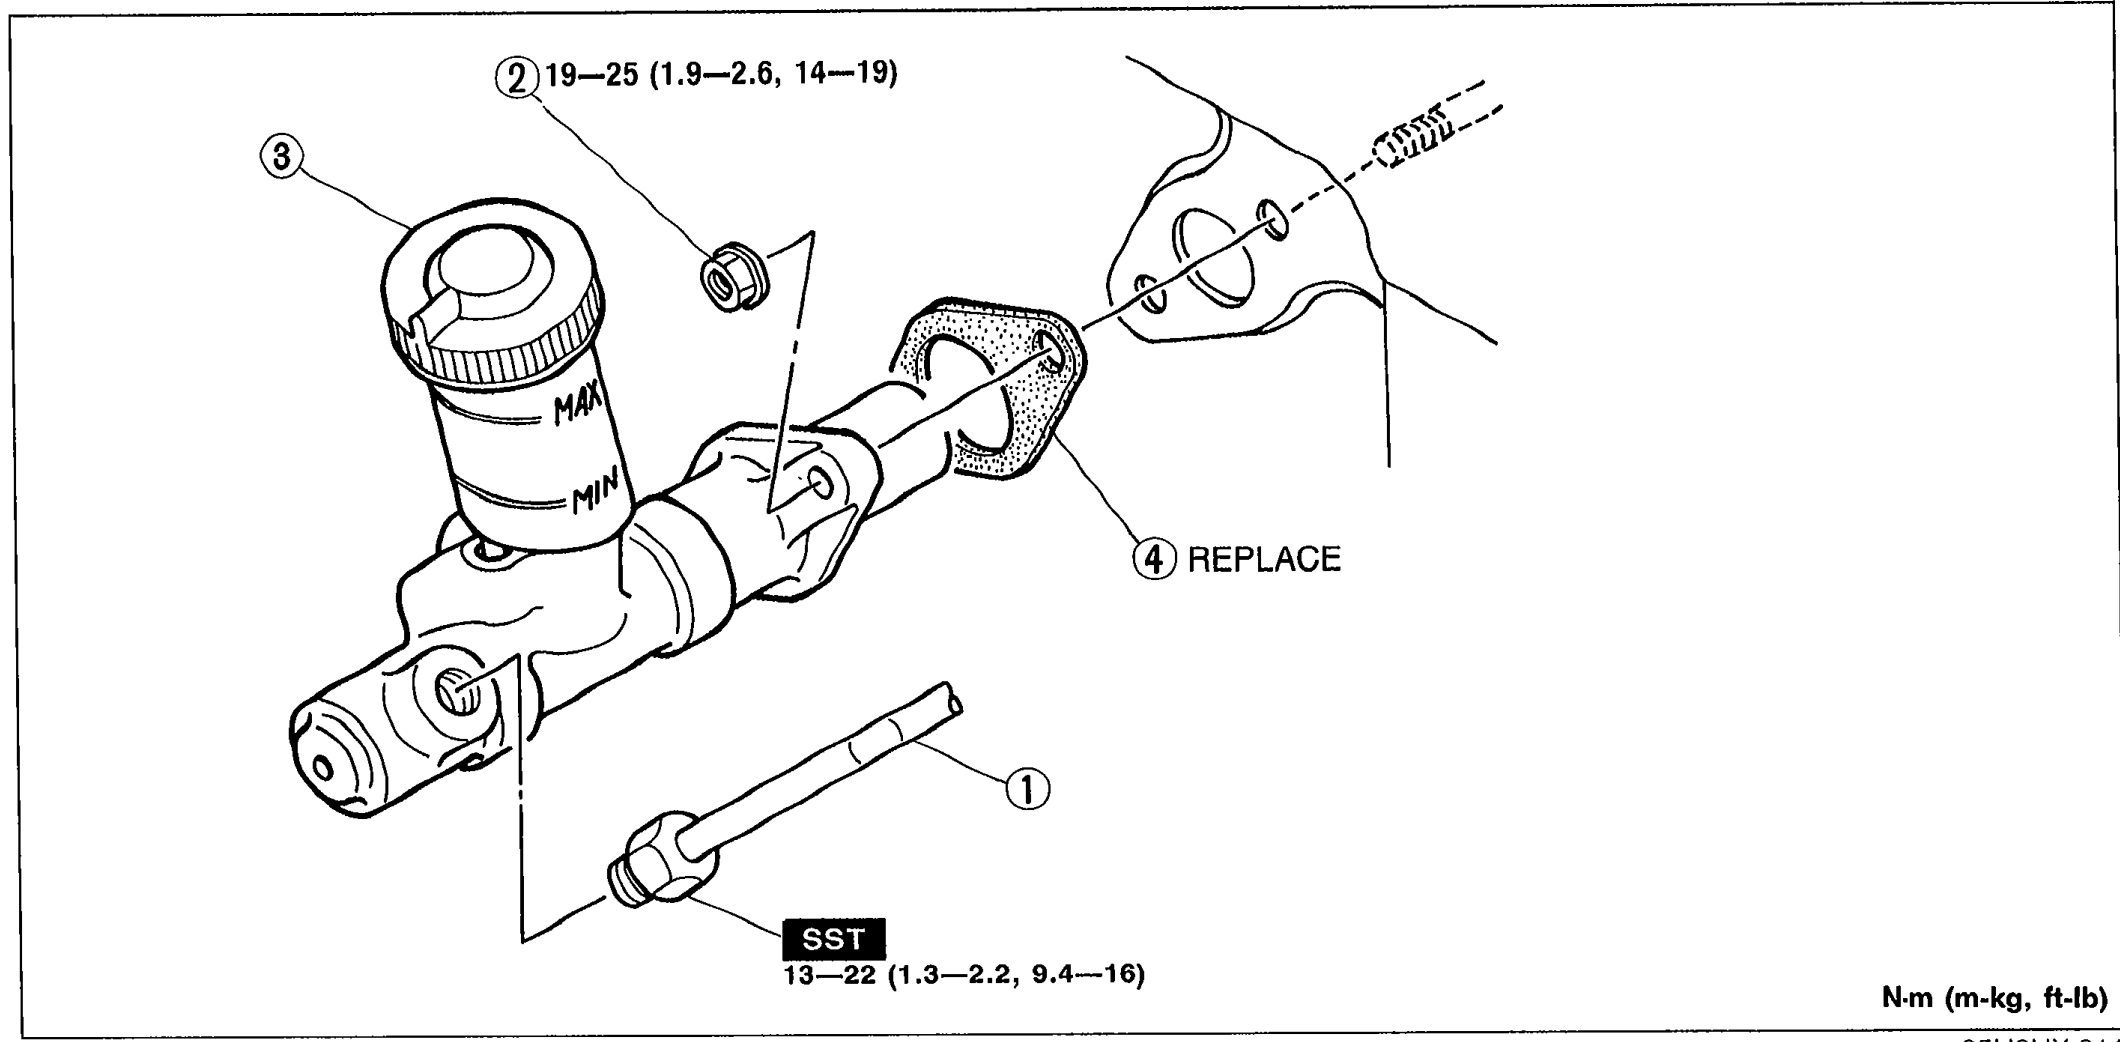 05U0HX-011
 - 2Install in the reverse order of removal, referring to Installation Note.
Parts DiagramFig. fig1
Removal Note
Clutch pipe
Disconnect the clutch pipe with the SST.
Installation Note
Clutch pipe
Tighten the clutch pipe with the SST.
| Specification | Value |
|---|---|
| Clutch pipe with SST | 13 - 22N·m |
Clutch pipe with SST
13 - 22N·m
Air Bleeding
After installation, bleed the clutch system. (Refer to page H-9.)
Inspection and Adjustment
Clutch pedal height and free play
(Refer to page H-5.)