
DIFFERENTIAL
M-39prose procedureDrive pinion installation (continued)
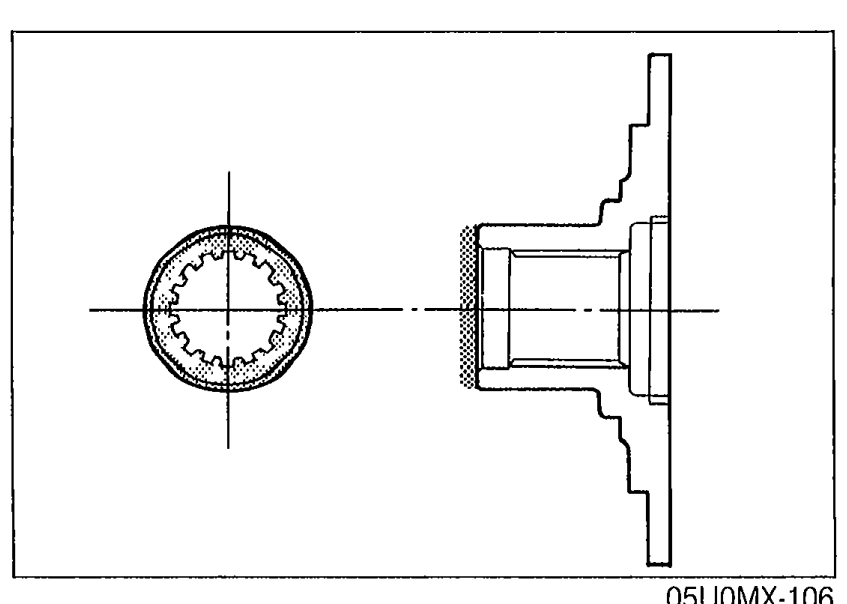
- 3Apply a light coat of grease to the end face of the companion flange.
 05U0MX-106
 - 4Install a new collapsible spacer.
- 5Install the drive pinion assembly.Do not install the oil seal.
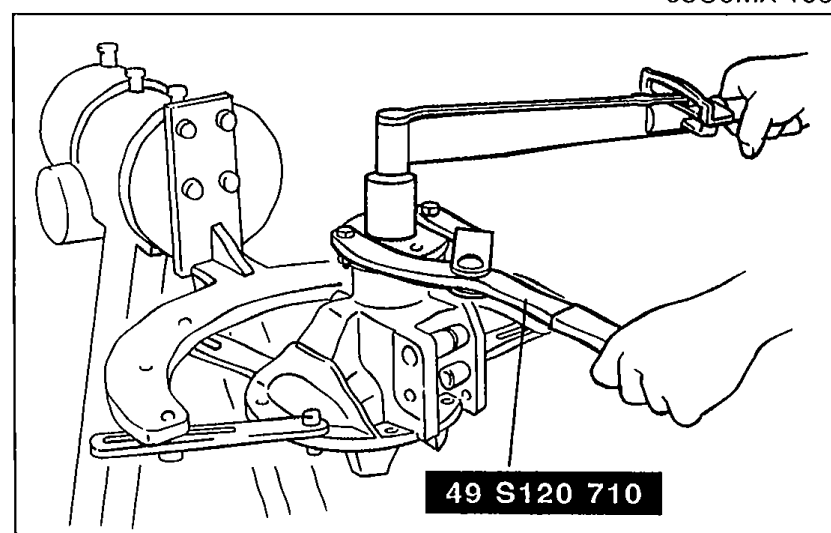
- 6Install the companion flange, and tighten the locknut with the SST.Tightening torque: 118 N·m (12 m-kg, 87 ft-lb)
 05U0MX-107
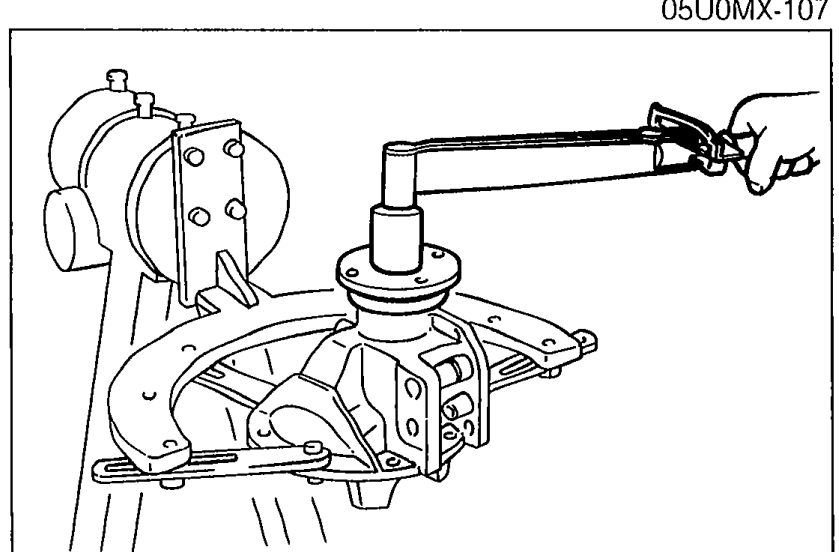
 - 7Turn the companion flange several turns by hand to seat the bearing.
- 8Measure the drive pinion preload. Adjust the preload by tightening the locknut and record the tightening torque.Preload: 0.3—0.7 N·m (3—7 cm-kg, 2.6—6.1 in-lb)Tightening torque: 118—177 N·m (12—18 m-kg, 87—130 ft-lb)
 05U0MX-108
 - 9Remove the nut, washer, and companion flange.
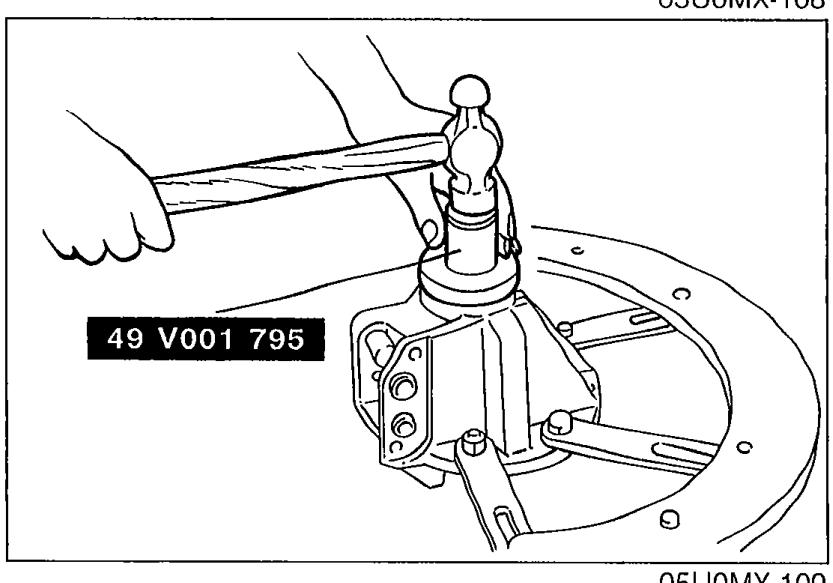
- 10Tap a new oil seal into the differential carrier with the SST.
 05U0MX-109
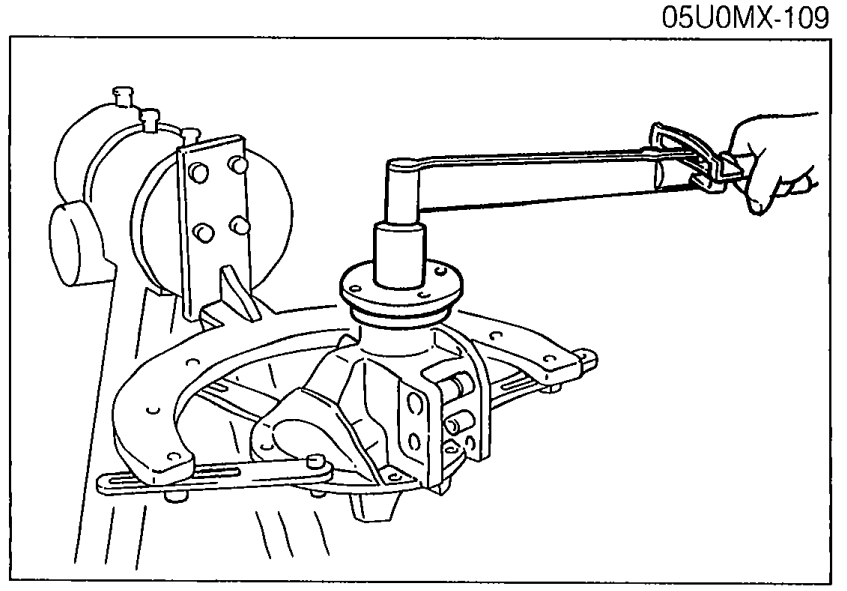
 - 11Install the companion flange and washer, and tighten the locknut to the tightening torque recorded in Step 8.
 05U0MX-110