
BRAKE SYSTEM
P-13prose procedurePOWER BRAKE UNIT
Quick Inspection, On-vehicle
Power brake unit function check (Simple method)
Step 1
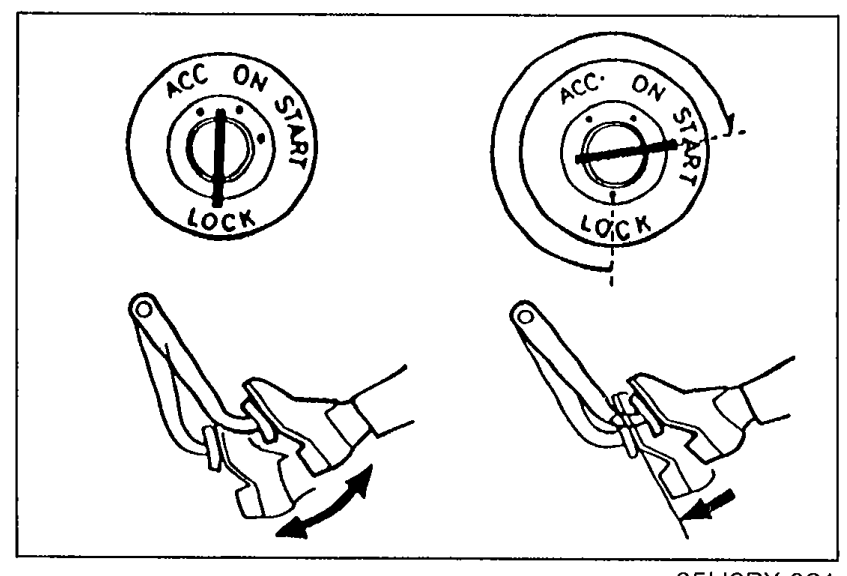
- 1With the engine stopped, depress the pedal a few times.
 05U0PX-021
 - 2With the pedal depressed, start the engine.
- 3If immediately after the engine starts the pedal moves down slightly, the unit is operating.
Step 2
- 1Start the engine and let it run 1 or 2 minutes.
 05U0PX-022
 - 2Stop the engine.
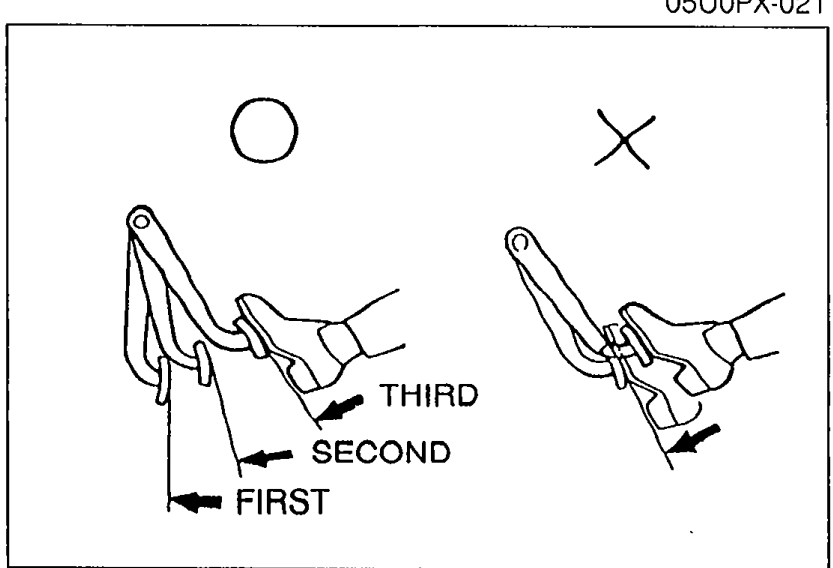
- 3Depress the pedal with the usual force.
- 4If the first pedal stroke is long and becomes shorter with subsequent strokes, the unit is operating.
- 5If a problem is found, inspect for damage or improper connection of the check valve or vacuum hose. Repair if necessary, and inspect it once again.
Step 3
- 1Start the engine.
 05U0PX-023
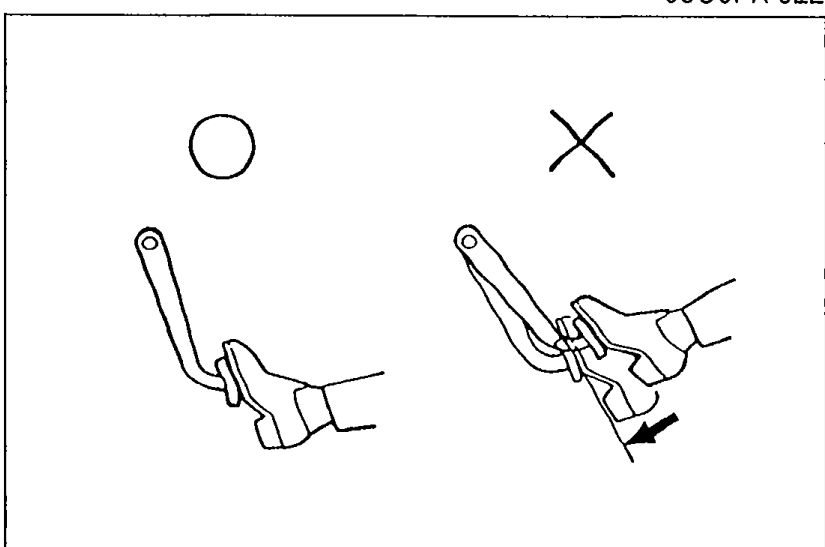
 - 2Depress the pedal with the usual force.
- 3Stop the engine with the pedal depressed.
- 4Hold the pedal down for about 30 seconds.
- 5If the pedal height does not change, the unit is operating.
- 6If there is a problem, check for damage or improper connection of the check valve or vacuum hose. Repair if necessary, and check once again.
If the nature of the problem is still not clear after following the 3 steps above, follow the more detailed check described in "Method using tester," below.
(Method using tester)
Connect a pressure gauge, vacuum gauge, and pedal depression force gauge as shown in the figure. After bleeding the air from the pressure gauge, conduct the test as described in the 3 steps below.
NOTE
Use commercially available gauges and pedal depression force gauge.
a) Checking for vacuum loss
Unloaded condition
Checking for vacuum loss — Unloaded condition
- 1Start the engine.
 05U0PX-024
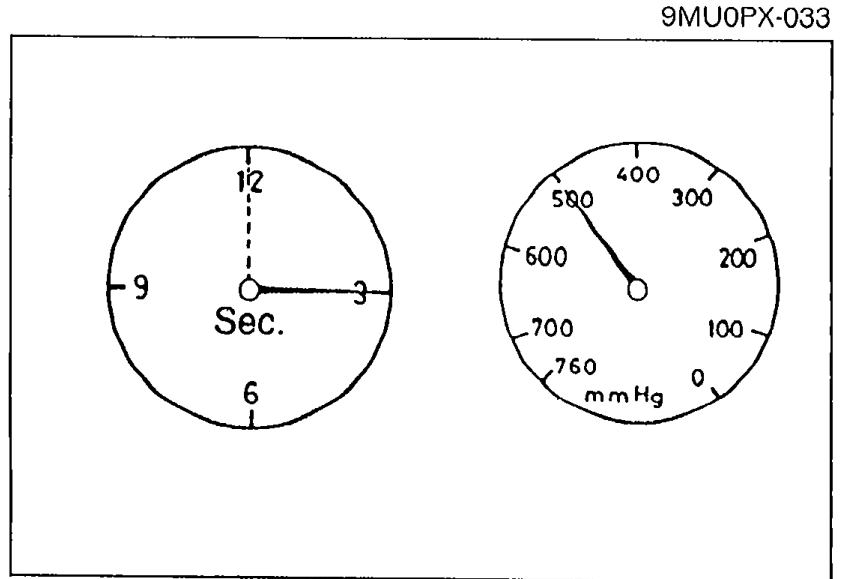
 - 2Stop the engine when the vacuum gauge indicates 500 mmHg (19.7 inHg).
- 3Observe the vacuum gauge for 15 seconds. If the gauge indicates 475—500 mmHg (18.7—19.7 inHg), the unit is operating.