
PARKING BRAKE SYSTEM - Removal / Inspection / Installation
P-28parts diagramRemoval / Inspection / Installation
- 1Block the wheels firmly.
- 2Release the parking brake.
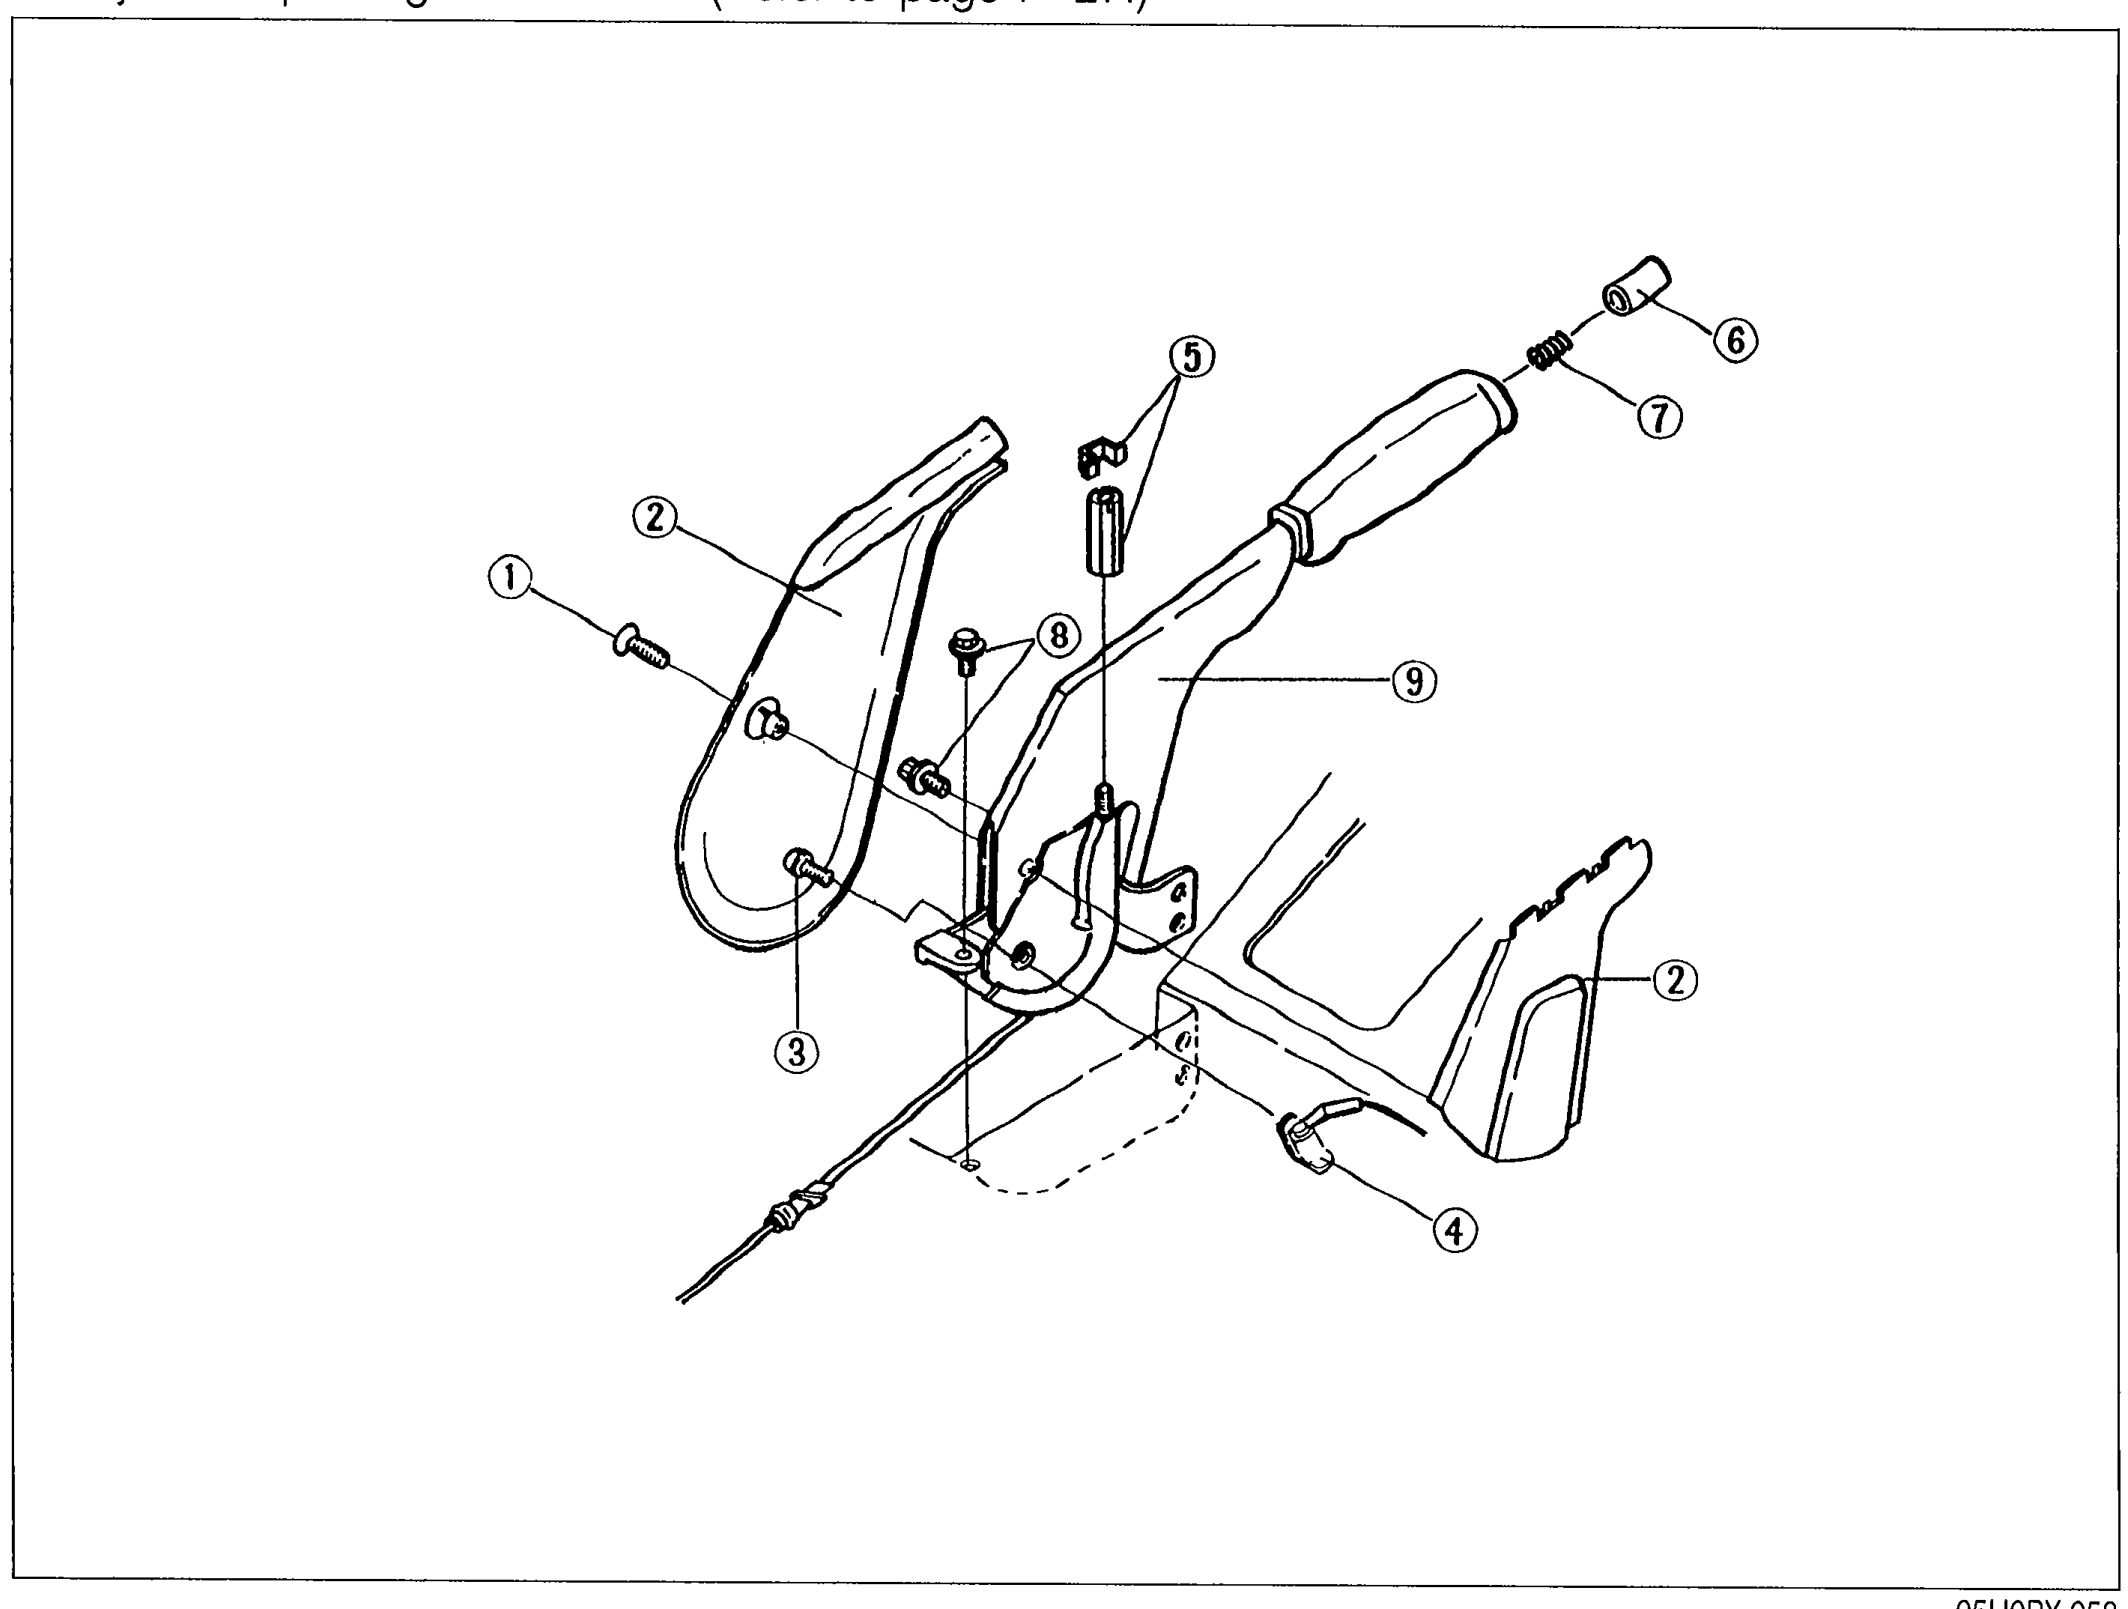
- 3Remove in the order shown in the figure.
 05U0PX-058
 - 4Inspect all parts and repair or replace as necessary.
- 5Install in the reverse order of removal, referring to Installation Note.
- 6After installation: Adjust the parking lever stroke. (Refer to page P-27.)
Parts DiagramFig. fig1
Installation note
Parking brake switch
Parking brake switch installation
- 1Install the parking brake switch so that it contacts the parking brake lever when the lever is fully released.
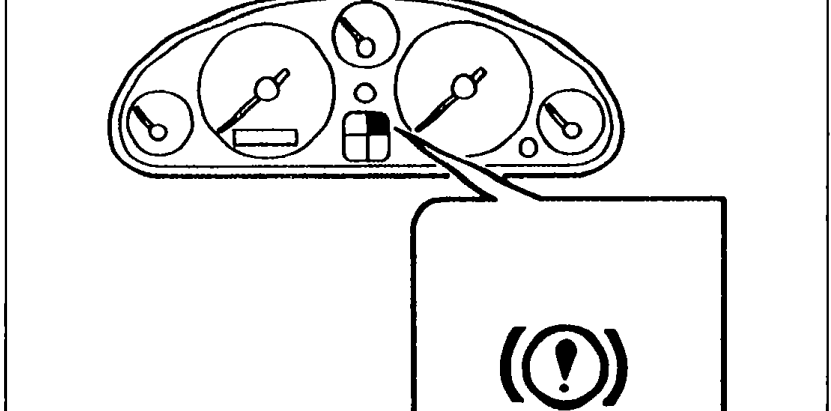
- 2Turn the ignition switch ON, and check that the parking brake warning lamp illuminates with the lever pulled one notch.
 9MU0PX-110