
WINDSHIELD — Removal Note / Installation Note
S-39prose procedureRemoval Note
Windshield
Windshield Removal Note
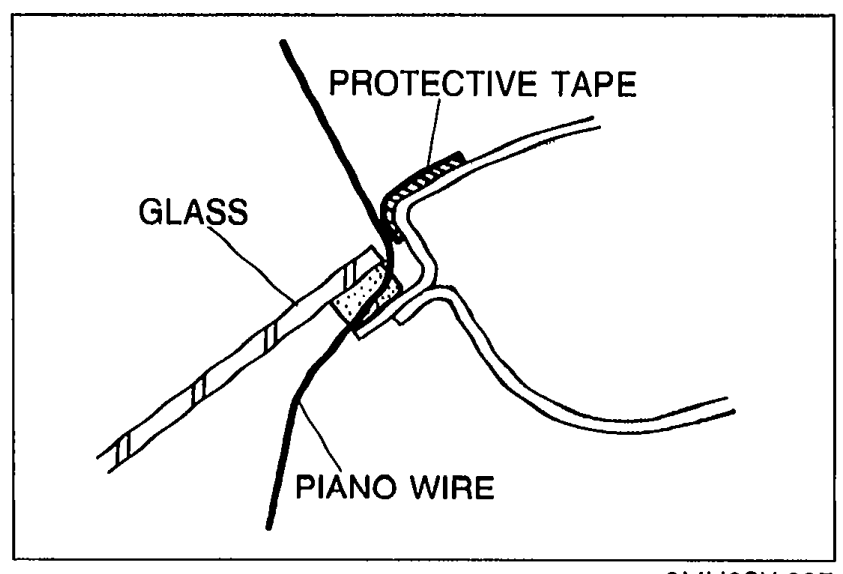
- 1Apply protective tape along the edge of the body to protect it from damage.
 9MU0SX-097
 - 2Using an awl, make a hole through the sealant from the inside of the vehicle.
- 3Pass piano wire through the hole.
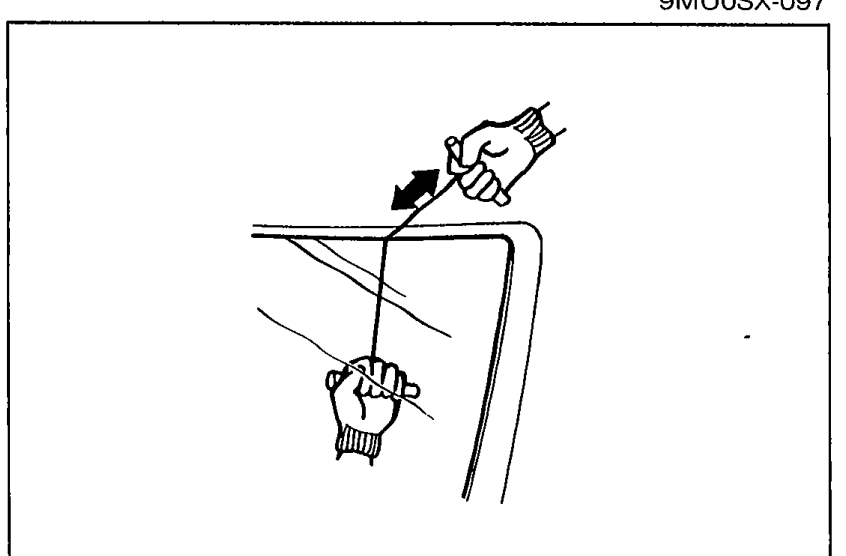
- 4Wind each end of the wire around a bar.
 05U0SX-064
 - 5Working with another person, saw through the sealant around the edge of the glass. Then remove the glass.Use a long sawing action to spread the work over the whole length of wire to prevent it from breaking.Be careful that the wire does not rub on the body or dashboard.If the glass is not to be reused, a tool like that shown in the figure may be used. Insert the blade in the sealant, and pull on the bars.
Installation Note
Windshield
Windshield Installation Note
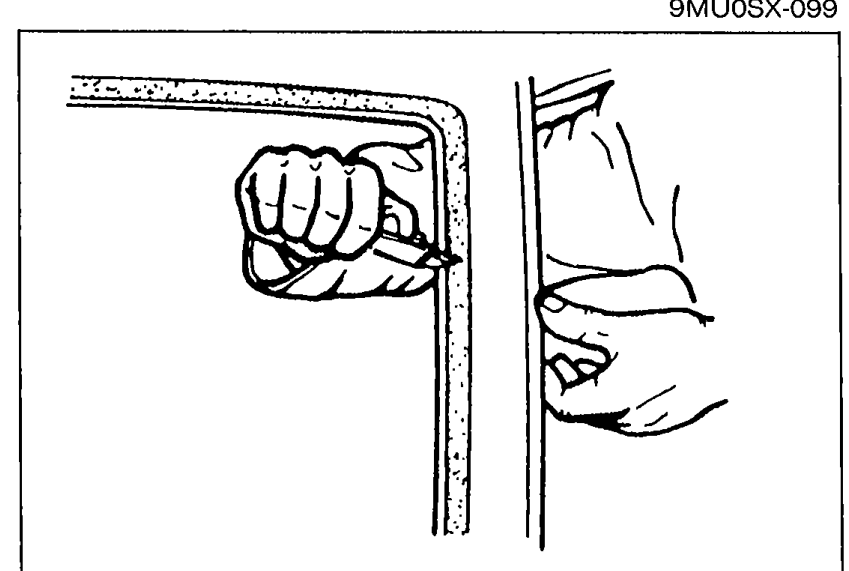
- 1Cut away the old sealant with a razor knife so that 1 to 2 mm (0.04 to 0.08 in) thickness of sealant remains around the circumference of the frame. If all the sealant has come off in any one place, apply some primer after degreasing, and allow it 30 minutes to dry. Then put on new sealant to create a 2 mm (0.08 in) layer.
 05U0SX-065
 - 2Carefully clean an area 5 cm (1.97 in) wide around the circumference of the glass and the bond on the body.
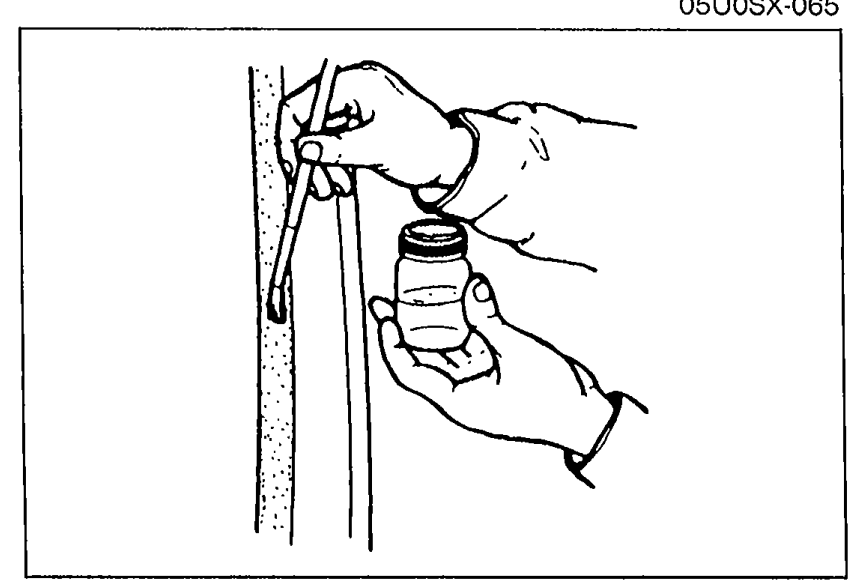
- 3Apply primer with a brush to the bonding area of the glass and the body, and allow it to dry for approx. 30 minutes.Keep the area free of dirt and grease. Do not touch the surface. If primer gets on the skin, remove it immediately.
 05U0SX-160