
REAR WINDOW GLASS — Installation Note (continued)
S-44prose procedureDetachable hard top model only.
Rear window glass Installation Note (continued)
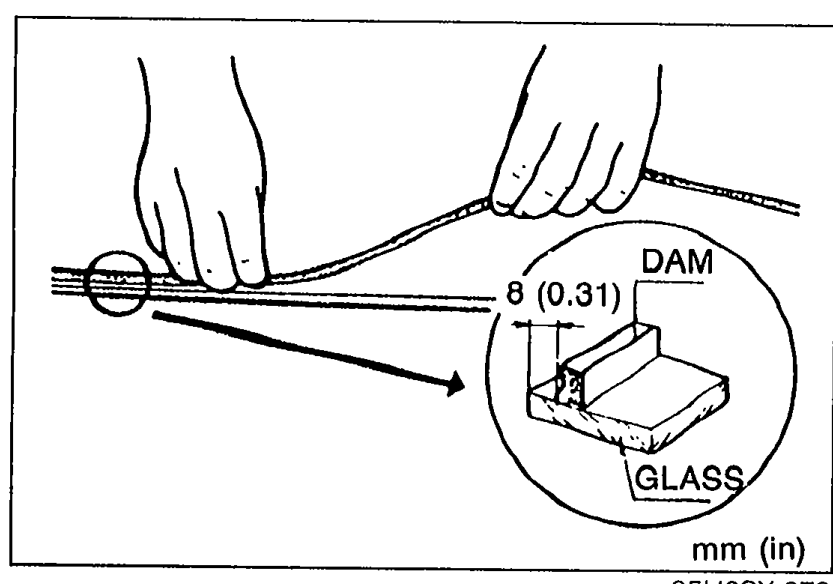
- 4Bond a new dam along the circumference of the glass 8 mm (0.31 in) from the edge.Bond the dam securely and allow it to dry.
 05U0SX-079
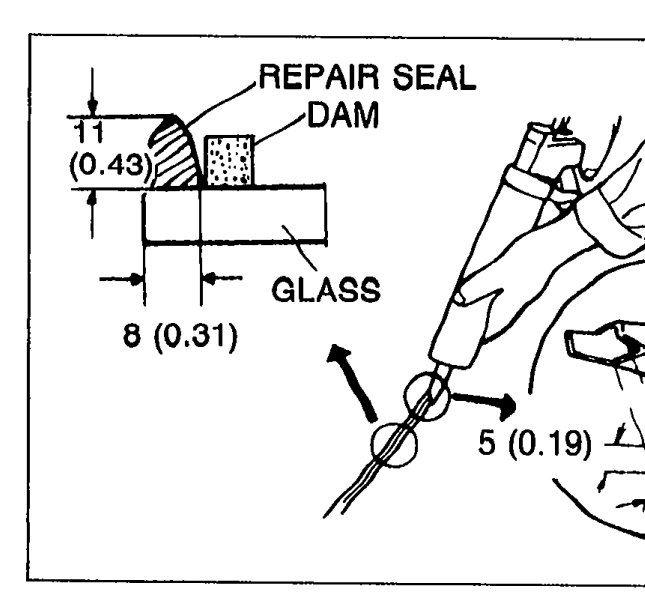
 - 5Prepare the nozzle of the sealant tube so that it has a flange that can run along the edge of the glass and a V from which the sealant can flow. Once the primer is dry, apply the sealant around the entire circumference to fill the gap between the dam and the edge of the glass with a ridge of sealant 11 mm (0.43 in) high. Keep the bead of sealant smooth and even, reshaping it where necessary with a spatula.
 05U0SX-080
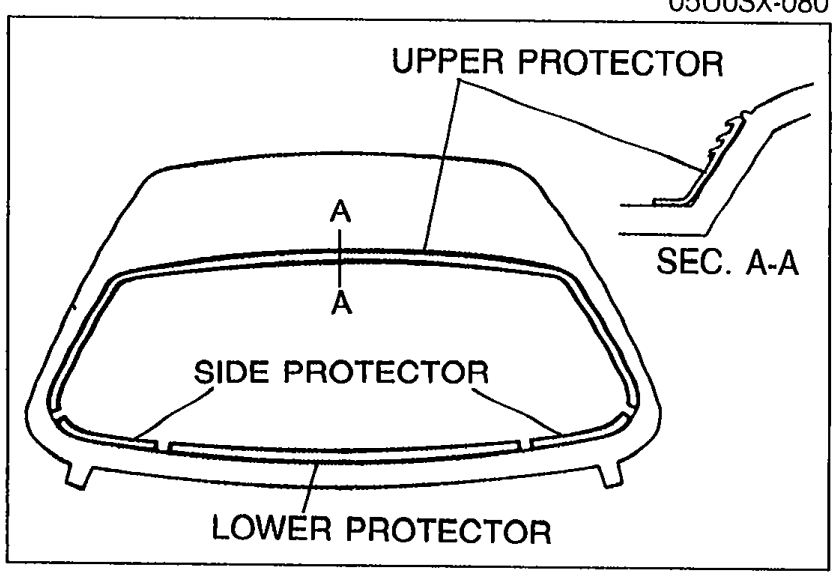
 - 6If protector is damaged bond a new protector onto the detachable hard top, as shown.Bond the protector securely and allow it to dry.
 05U0SX-081
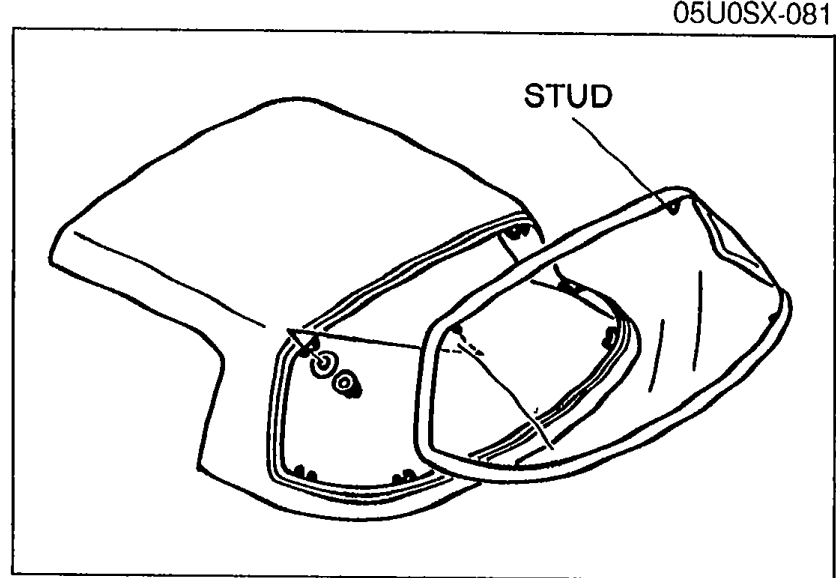
 - 7Align the studs of the glass with the detachable hard top and mount the glass.
 05U0SX-082
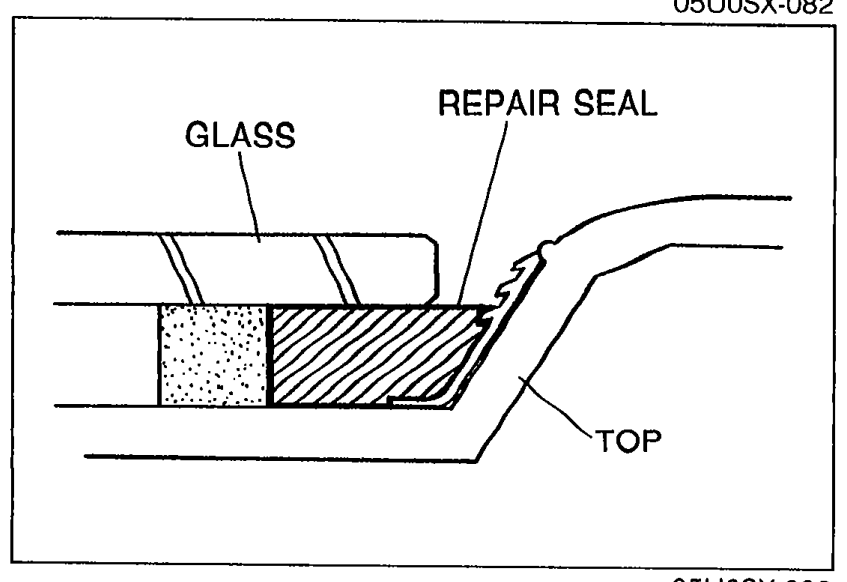
 - 8Push the glass lightly toward the front to compress the sealant.
- 9Tighten the glass mounting nuts.Tightening torque: 2.4—3.3 N·m (24—34 cm-kg, 20.8—29.5 in-lb)
- 10Use a scraper to smooth away any sealant that oozes out. Add more sealant to any points of poor contact.
 05U0SX-083
 - 11Install the new rear window molding. (Refer to page S-29.)
| Specification | Value |
|---|---|
| Rear window glass mounting nut | ≈24 - 32N·m |
Rear window glass mounting nut
24 - 32N·m
Hardening time of repair seal
Hardening time of repair seal
5°C (41°F)
Surface hardening timeApprox. 1.5 hr
Time required until car can be put into service12 hr
20°C (68°F)
Surface hardening timeApprox. 1 hr
Time required until car can be put into service4 hr
35°C (95°F)
Surface hardening timeApprox. 10 min
Time required until car can be put into service2 hr