
TROUBLESHOOTING GUIDE — Case 1: Insufficient refrigerant
U-14prose procedureCase 1: Insufficient refrigerant
| Specification | Value |
|---|---|
| Measured pressure — Low-pressure sideCase 1 | Less than 78.5 kPa (0.8 kg/cm², 11.4 psi)kPa / kg/cm² / psi |
| Measured pressure — High-pressure sideCase 1 | 785—883 kPa (8—9 kg/cm², 114—128 psi)kPa / kg/cm² / psi |
Measured pressure — Low-pressure sideCase 1
Less than 78.5 kPa (0.8 kg/cm², 11.4 psi)kPa / kg/cm² / psi
Measured pressure — High-pressure sideCase 1
785—883 kPa (8—9 kg/cm², 114—128 psi)kPa / kg/cm² / psi
Condition:
• Outlet air from vents not cold.
• Bubbles seen in sight glass.
Case 1 troubleshooting
- 1Check for oil stains on the pipes, hoses and other parts. (Refer to illustration below.) If oil staining is found at the connection of pipes or hoses, replace the O-ring; then, evacuate, charge, and test the system. If oil staining is not found, go to Step 2.
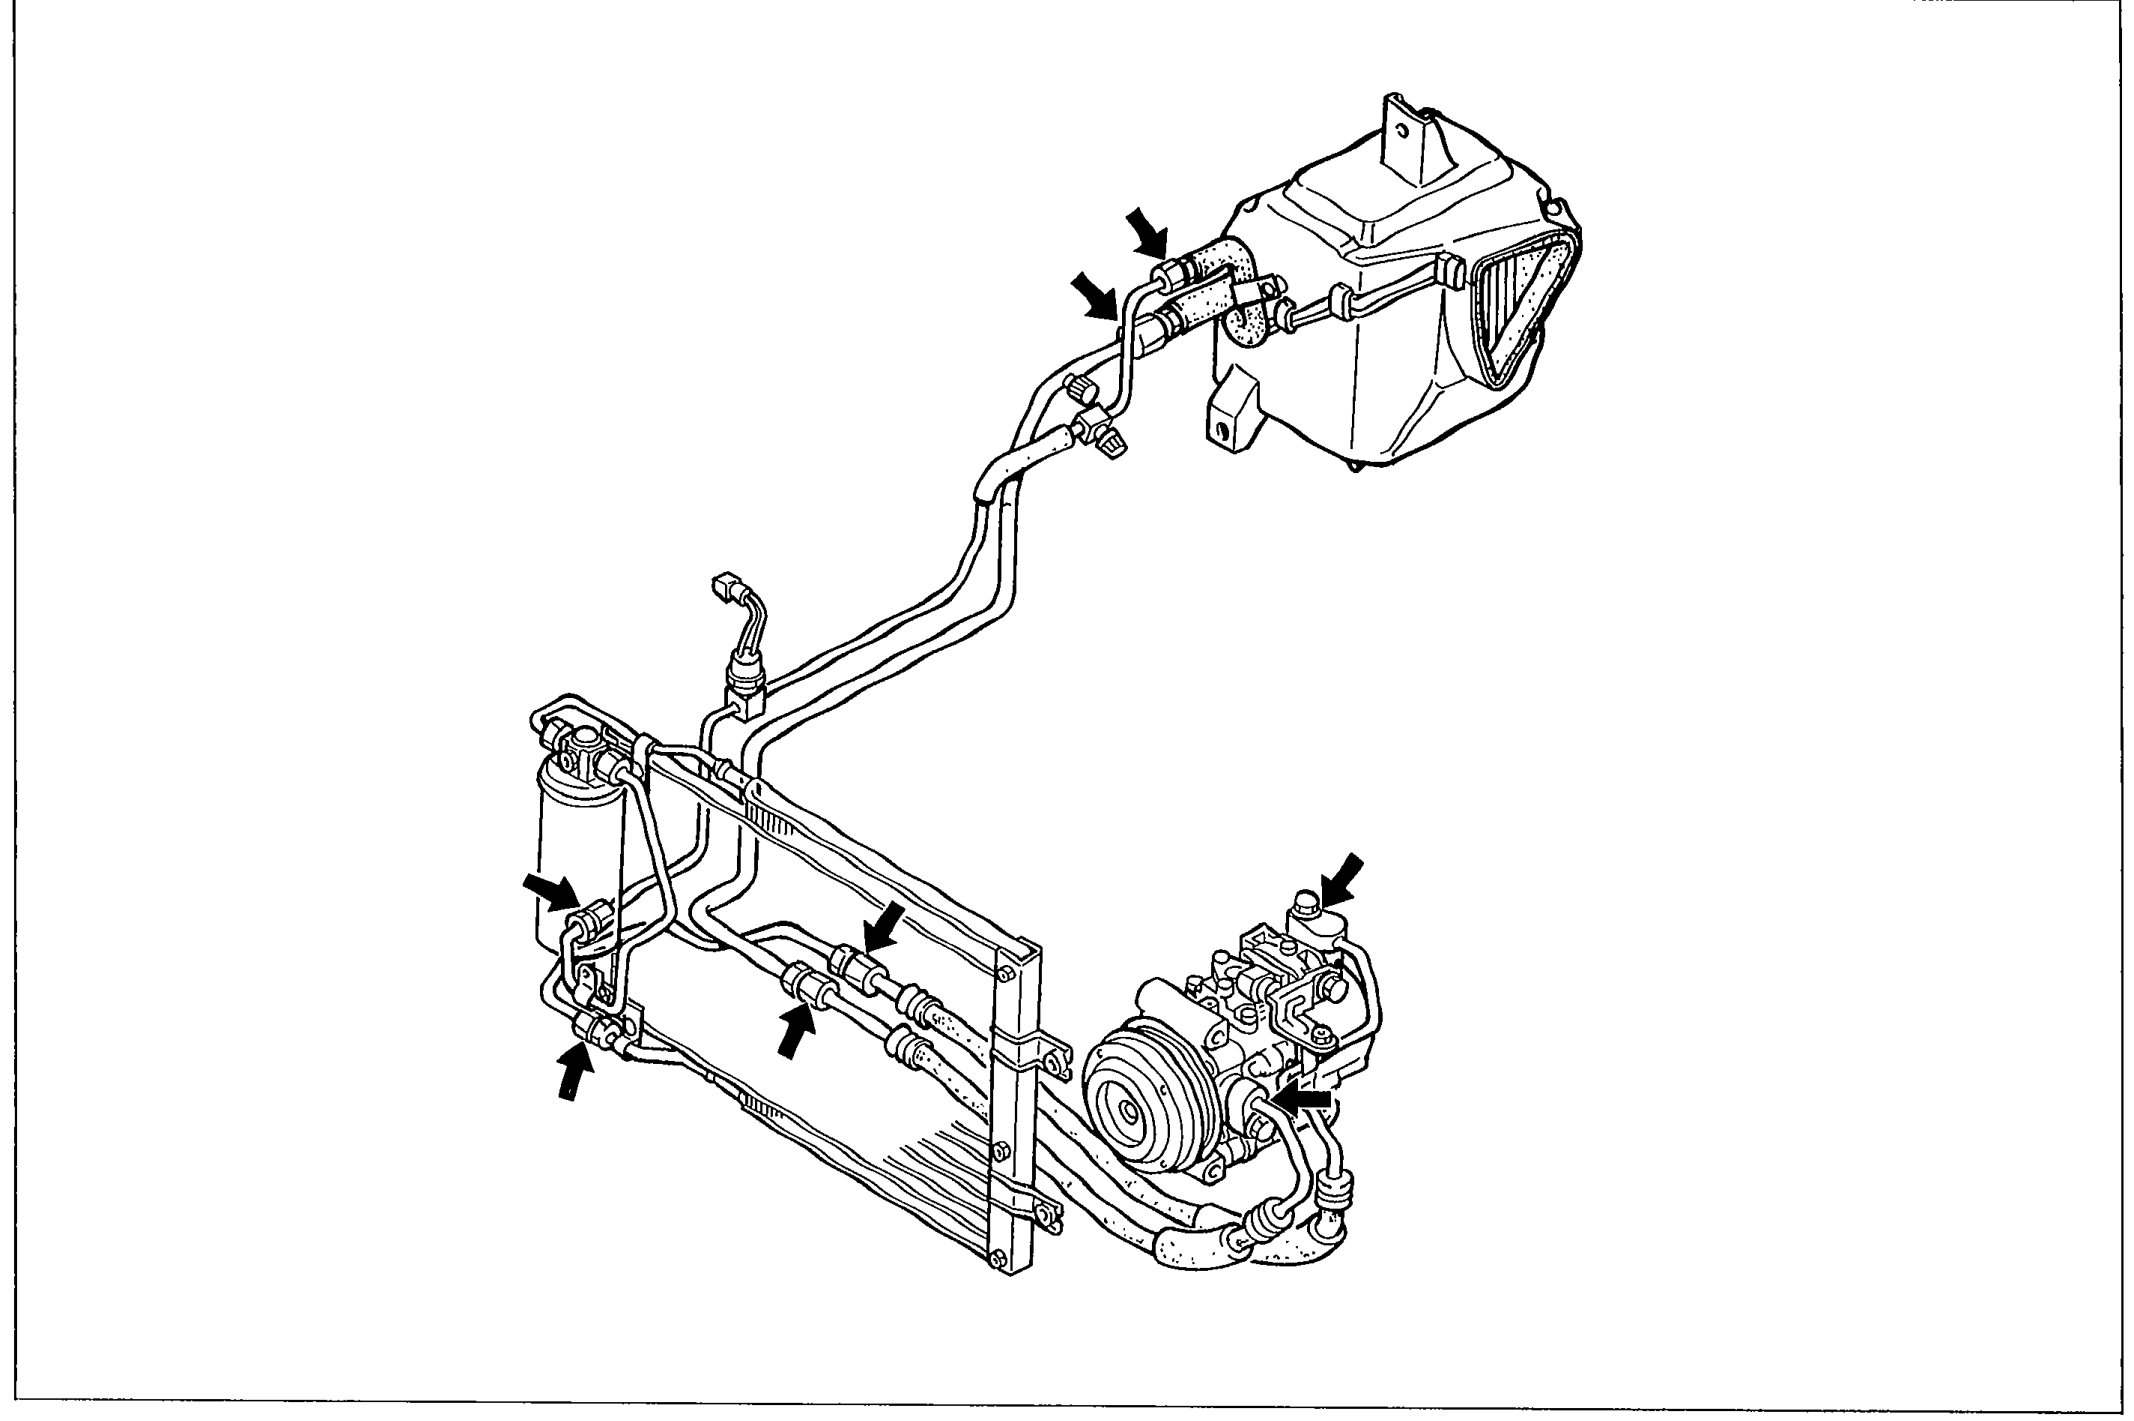 05U0UX-023
 - 2Check for leakage from the following connections with a gas leak tester: Inlet and outlet of condenser; Inlet and outlet of receiver/drier; Inlet and outlet of compressor; Sight glass; Inlet and outlet of cooling unit. If leakage is evident, go to Step 3. If leakage cannot be found, evacuate, charge, and test the system. (System OK, but refrigerant leaked gradually over time.)
- 3Check tightening torque of the connection where leak was detected. If the connection is loose, tighten the connection to the specified torque; then evacuate, charge, and test the system. If the connection is properly tightened, replace the O-ring; then evacuate, charge, and test the system.