
AIR CONDITIONER
U-27prose procedureREFRIGERANT SYSTEM
Safety Precaution
Refrigerant safety precaution
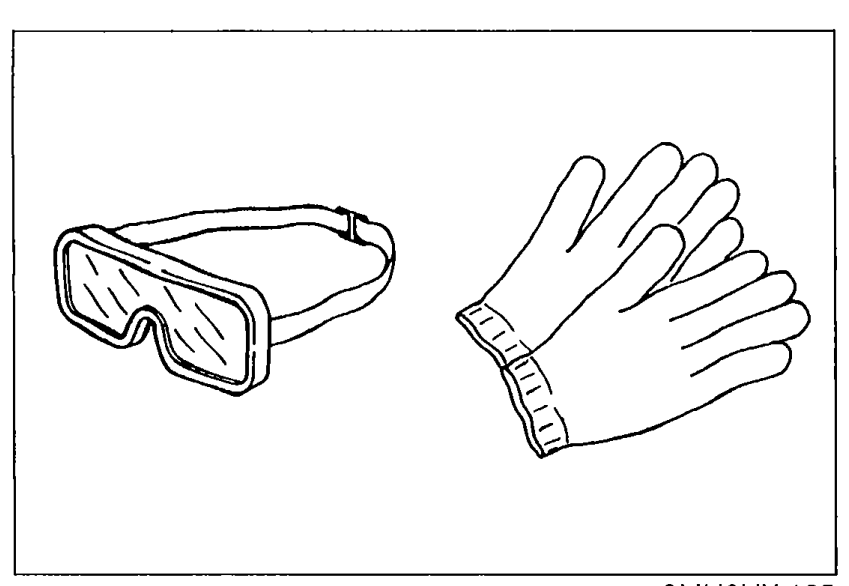
- 1R-12 liquid refrigerant is highly volatile. A drop of it on the skin could result in localized frostbite. When handling the refrigerant, be sure to wear gloves.
 9MU0UX-125
 - 2If the refrigerant splashes into the eyes, wash them with clean water immediately. Always wear goggles or glasses to protect the eyes.
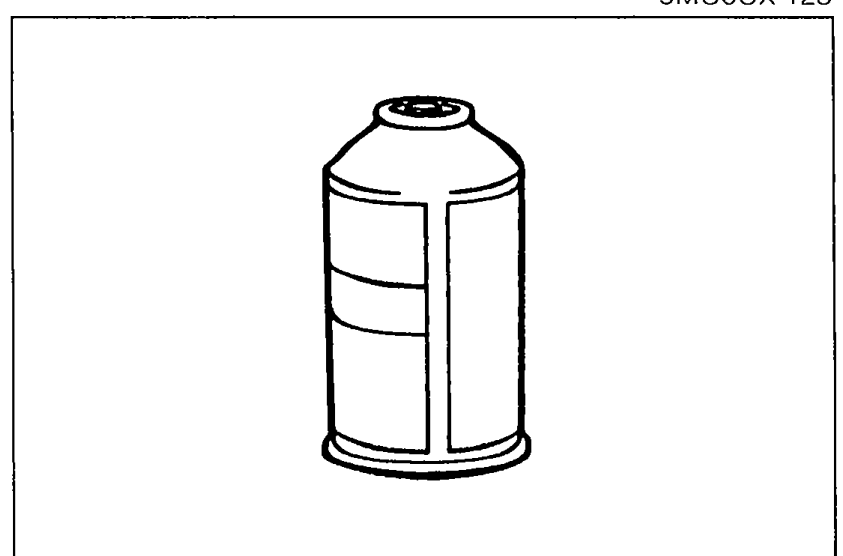
- 3The R-12 container is a highly pressurized vessel. Never subject it to high heat, and be sure that the temperature where it is stored is below 52°C (125.6°F).
 05U0UX-060
 - 4A halide leak detector is often used to check an A/C system for refrigerant leakage. Remember that R-12, upon coming into contact with the flame, produces phosgene, a toxic gas. Always provide adequate ventilation.
Basic Procedure of Refrigerant System Service
Refrigerant container service valve
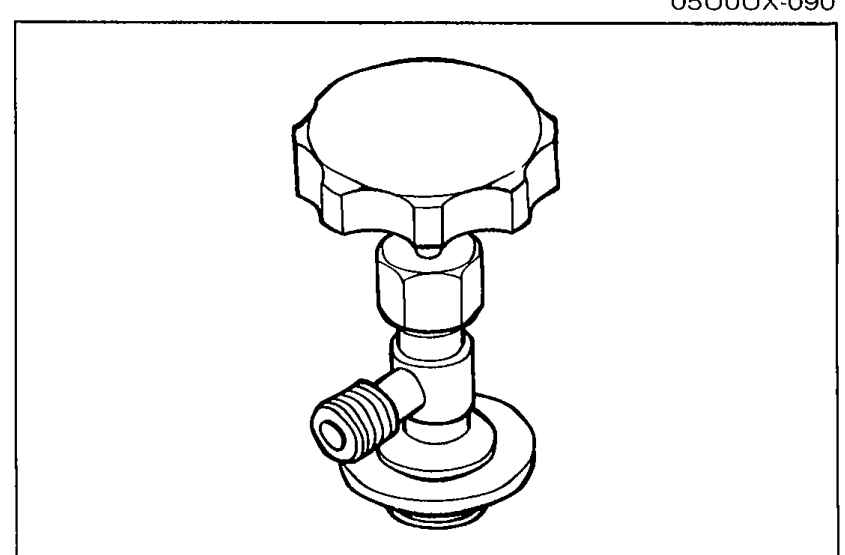
- 1Turn the handle fully counterclockwise before connecting the valve to the refrigerant container.
 9MU0UX-127
 - 2Turn the outlet valve counterclockwise until it reaches its highest position.
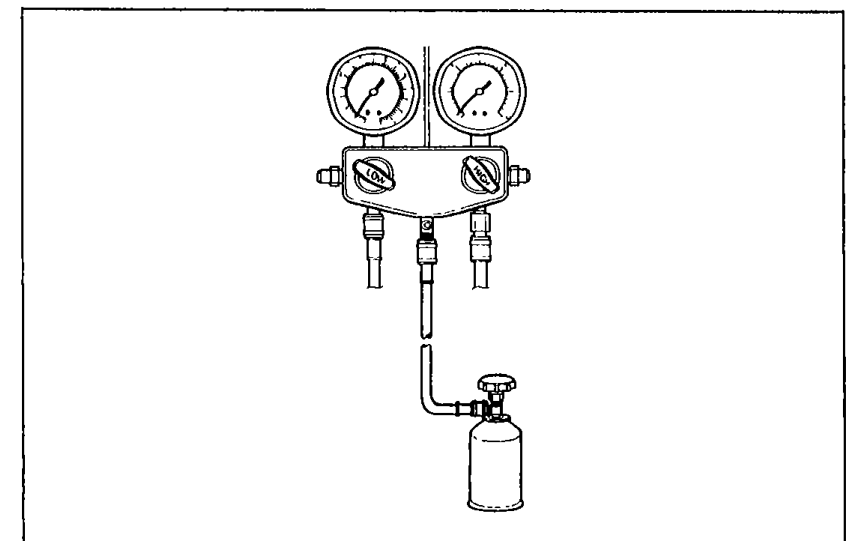
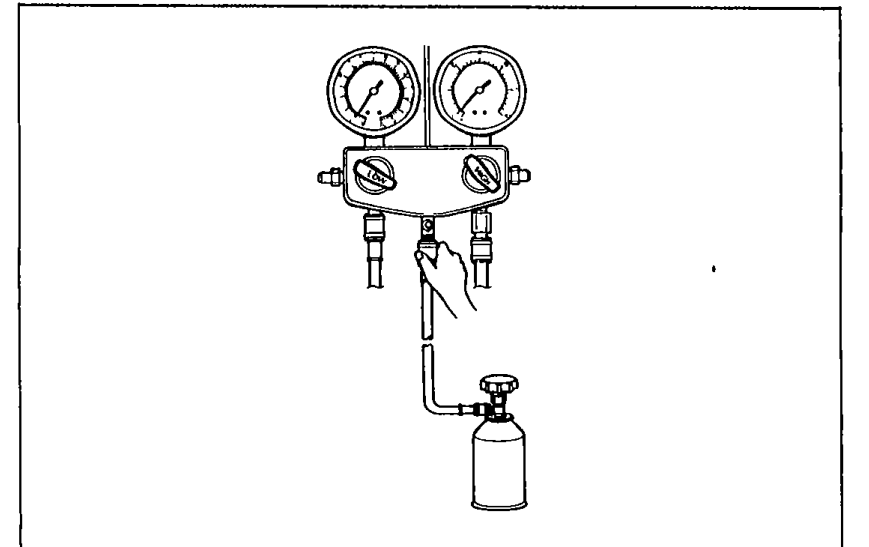
- 3Turn the outlet valve fully clockwise by hand. Connect the center hose to the valve fitting.
 9MU0UX-128
 - 4Turn the handle clockwise to puncture the sealed can.
- 5Turn the handle fully counterclockwise to fill the center hose. Do not open the high- or low-pressure manual valves.
- 6Loosen the hose nut connected to the center fitting of the manifold gauge. Allow air to escape until gas is expelled; then retighten the nut.
 9MU0UX-129