
FUEL SYSTEM
F-109prose procedureFuel pump replacement
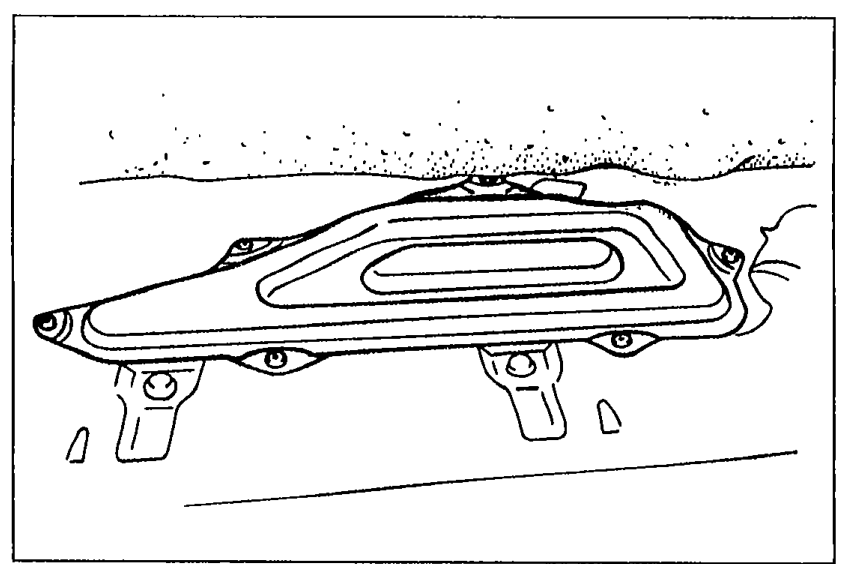
- 1Remove the rear package trim.
 05U0FX-154
 - 2Remove the service hole cover.
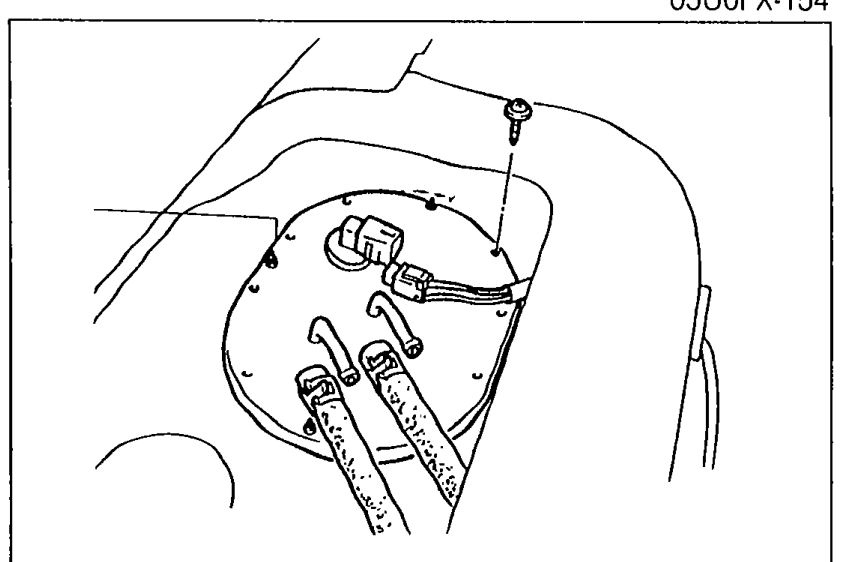
- 4Remove the fuel pump cover.
 05U0FX-155
 - 5Disconnect the fuel pump connector.
- 6Disconnect the fuel hoses.
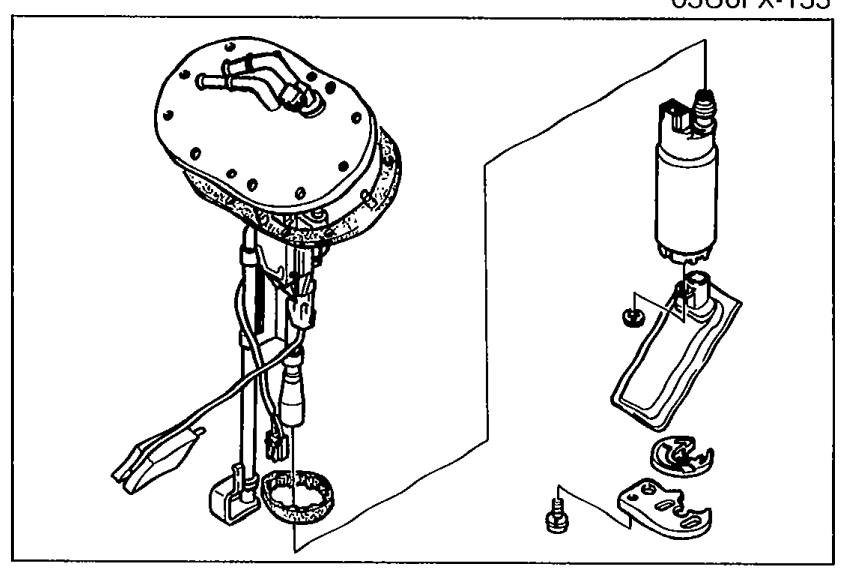
- 7Remove the fuel pump and fuel tank gauge sender unit assembly.
- 8Remove the fuel pump.
 05U0FX-156
 - 9Install in the reverse order of removal, referring to Installation Note.
Installation note
O-ring set
O-ring set installation note
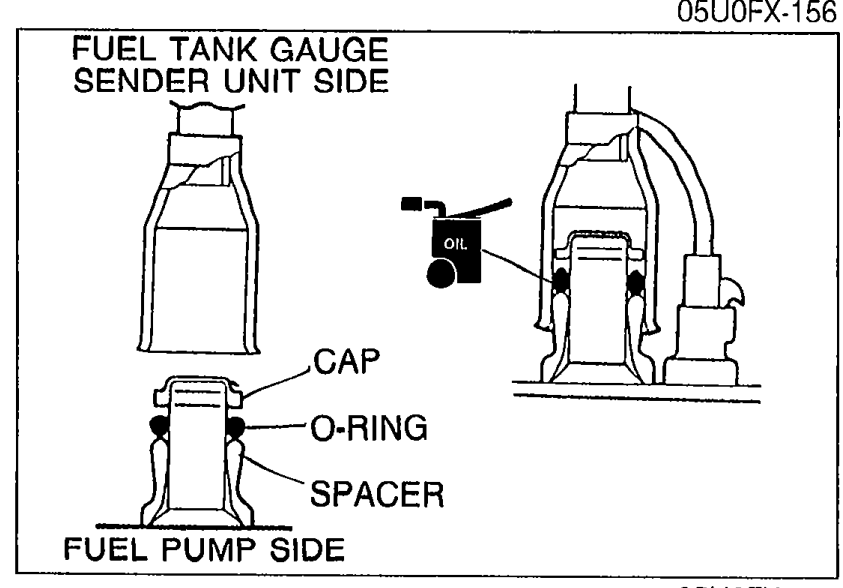
- 1Use a new O-ring set. (O-ring, cap, and spacer)
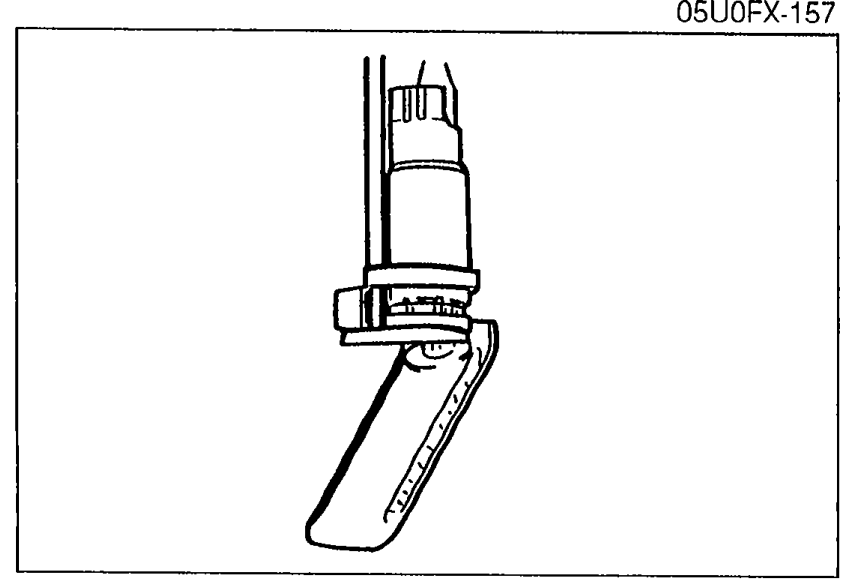
 05U0FX-157
 - 2Apply oil or fuel to the O-ring set before installing.
- 3To confirm sealing of the O-ring, after assembling the fuel pump and fuel tank gauge sender unit, blow air through the fuel main pipe and verify that no air flows.If air flows the check ball may be stuck. Shake the fuel pump 2 or 3 times and recheck.
Fuel pump
Fuel pump installation note
- 1After installing the fuel pump to the bracket, pull down the fuel pump down so that it is tight against the bracket.
 05U0FX-233