
EVAPORATIVE EMISSION CONTROL SYSTEM
F-119prose procedureSOLENOID VALVE (PURGE CONTROL)
On-vehicle Inspection
Solenoid Valve (Purge Control) On-vehicle Inspection
- 1Warm up the engine to normal operating temperature.
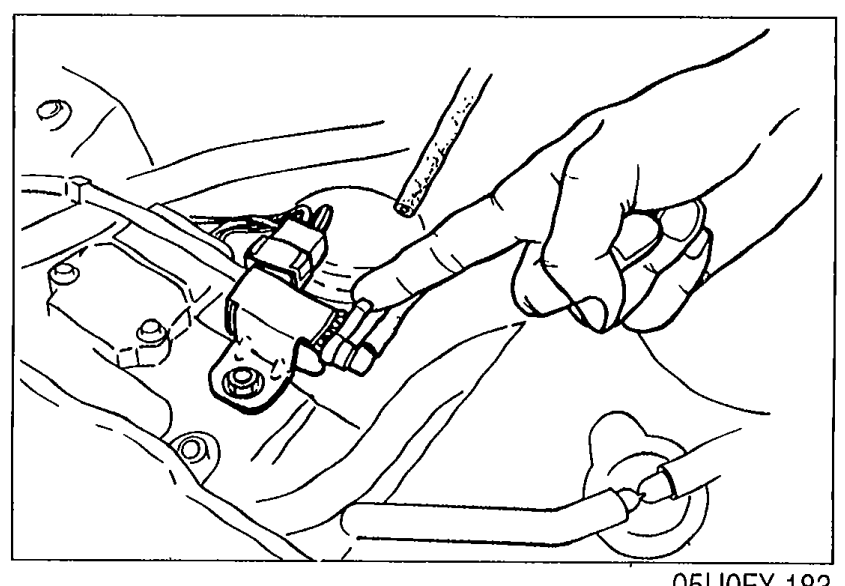 05U0FX-183
 - 2Run the engine at idle.
- 3Disconnect the vacuum hose from the solenoid valve and verify that no vacuum is felt at the solenoid valve.
- 4If not as specified, check the solenoid valve.
Inspection
Solenoid Valve (Purge Control) Inspection
- 1Disconnect the vacuum hoses from the solenoid valve.
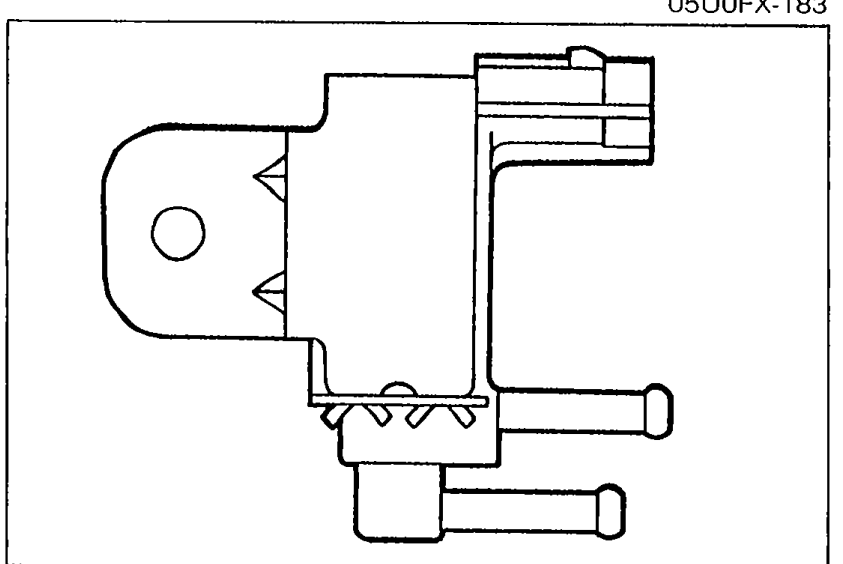 05U0FX-184
 - 2Verify that no air flows through the valve.
- 3Disconnect the solenoid valve connector and connect 12V and a ground to the terminals of the solenoid valve.
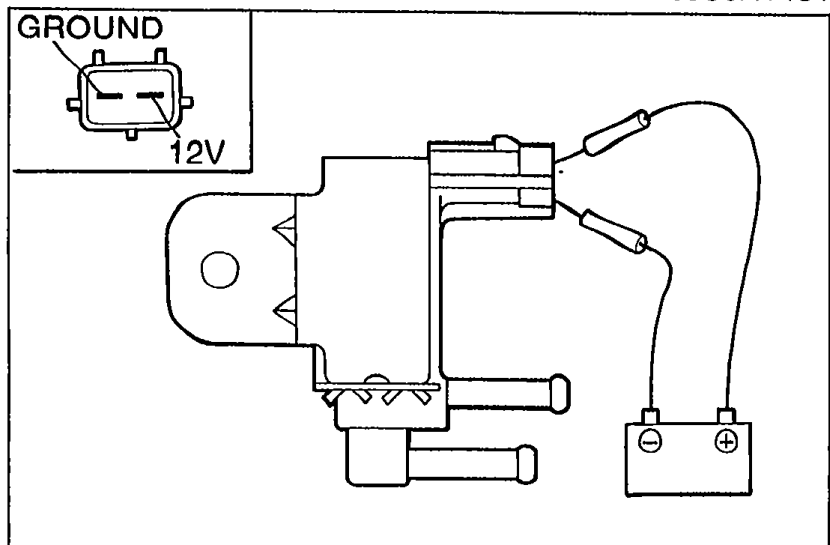 05U0FX-185
 - 4Verify that the air flows through the valve.
- 5If not as specified, replace the solenoid valve.
TWO-WAY CHECK VALVE
Inspection
Two-Way Check Valve Inspection
- 1Remove the valve.
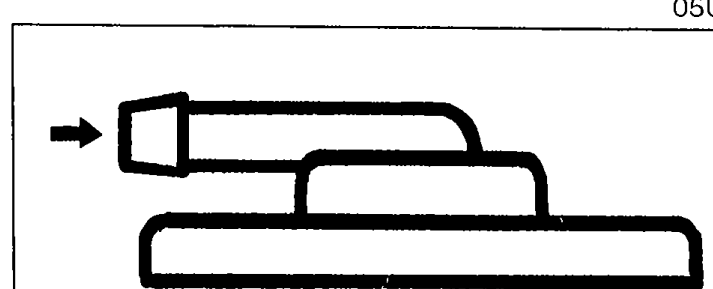 05U0FX-186
 - 2Check the operation of the valve with a vacuum pump.
Two-Way Check Valve Operation
Apply approx. 37 mmHg (1.46 inHg) vacuum at port A
ResultAirflow
Apply approx. 44 mmHg (1.73 inHg) vacuum at port B
ResultAirflow
FUEL VAPOR VALVE
Inspection
Fuel Vapor Valve Inspection
- 1Remove the valve.
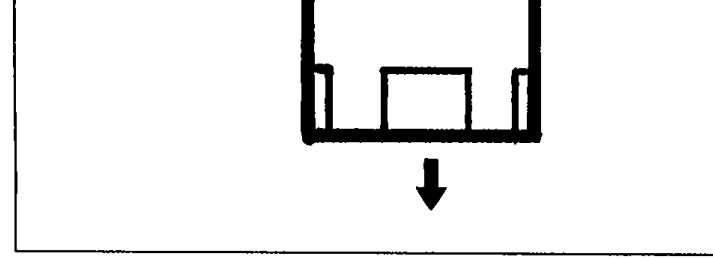 05U0FX-187
 - 2Blow through the valve and verify that air flows in the direction shown.