
ON-VEHICLE MAINTENANCE — HLA Removal & Installation notes
B-21prose procedureRemoval note
Camshaft pulley
Camshaft pulley — Removal
- 1Hold the camshaft with a wrench.
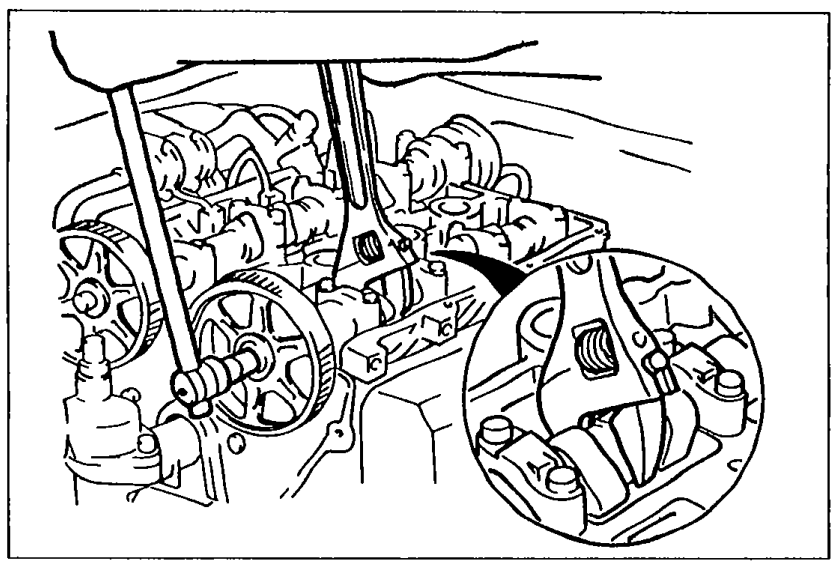 05U0BX-048
 - 2Remove the camshaft pulley lock bolt.
- 3Remove the camshaft pulley.
Camshaft
Camshaft — Removal
- 1Loosen the camshaft cap bolts in two or three steps in the order shown in the figure.
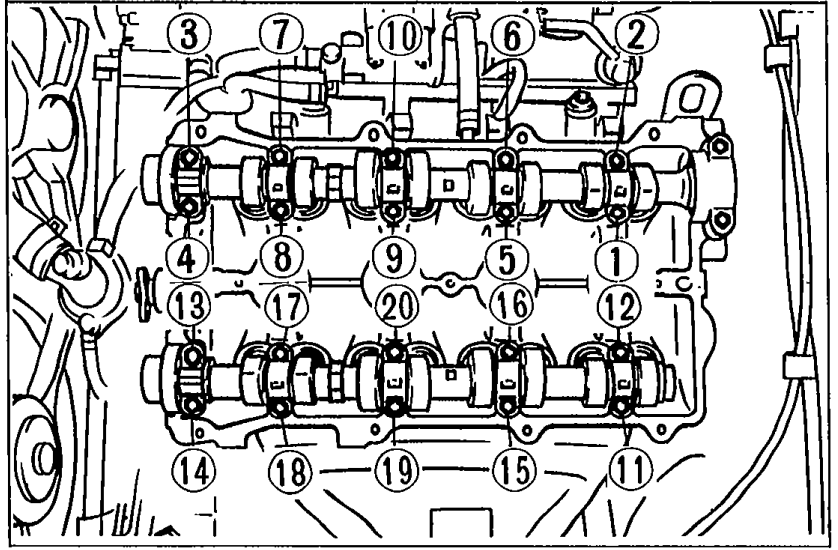 05U0BX-049
 - 2Remove the camshaft caps.
- 3Remove the camshaft.
- 4Remove the camshaft oil seal from the camshaft.
HLA
HLA — Removal
- 1Remove the HLA from the cylinder head.Caution: Mark the HLA with a felt pen so that they can be reinstalled in the position from which they were removed.
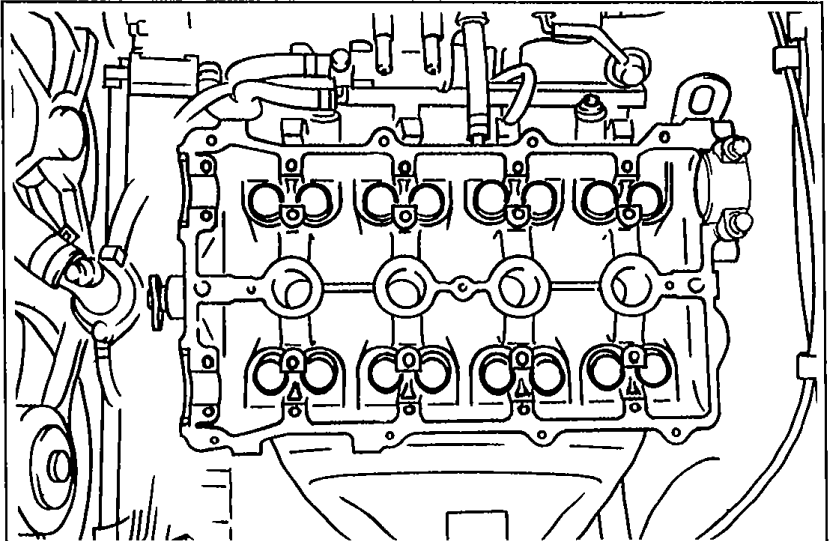 05U0BX-050
Installation note
HLA
HLA — Installation
- 1Apply clean engine oil to the friction surfaces.
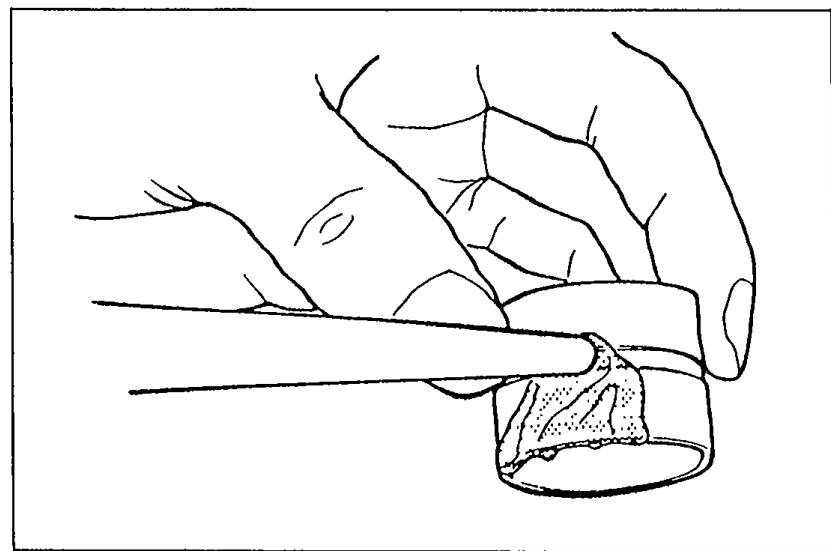 05U0BX-051
 - 2If the HLA are being reused, install them in the position from which they were removed.
- 3Verify that the HLA move smoothly in their bores.
Camshaft
Camshaft — Installation
- 1Apply clean engine oil to the camshaft journals and bearings.Note: The intake camshaft is grooved for the crank angle sensor drive.
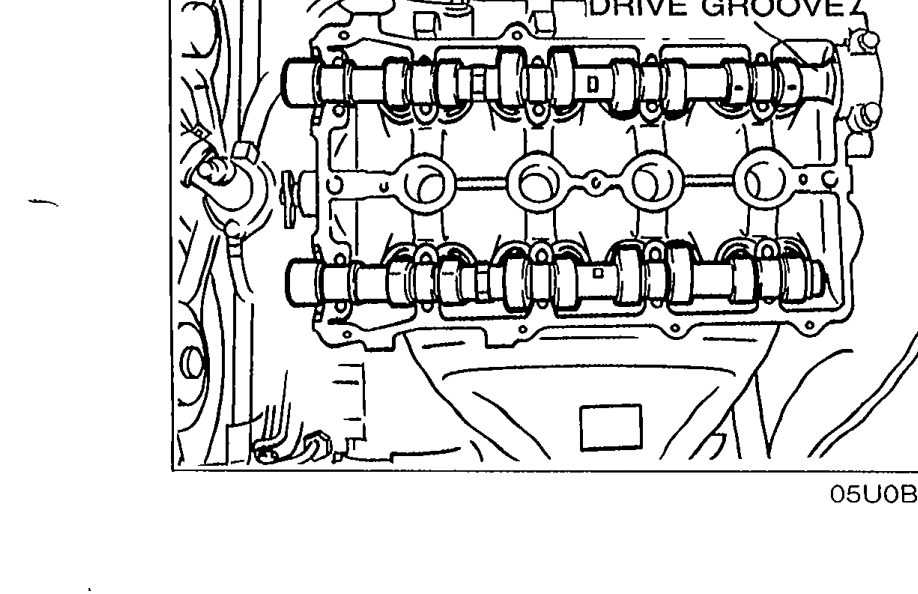 05U0BX-052
 - 2Install the camshaft in position.