
ASSEMBLY
B-71prose procedureValve Seal
Valve Seal Installation
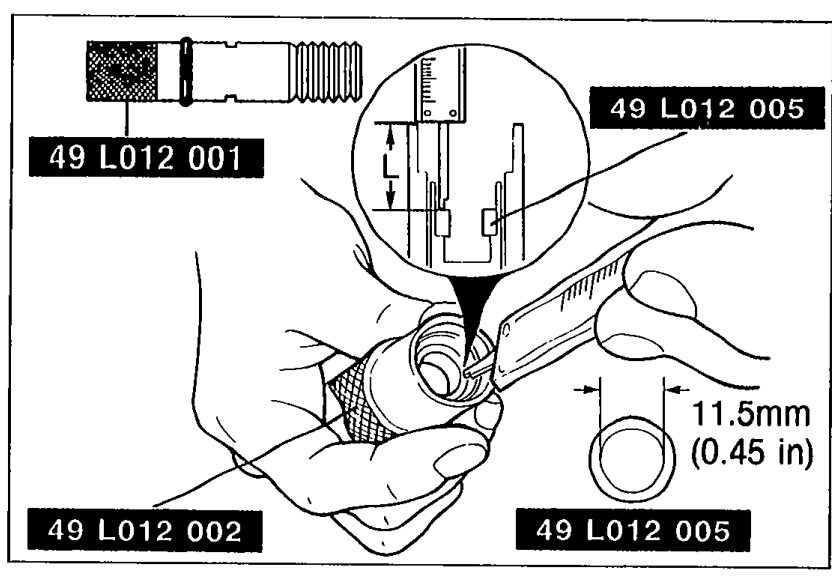
- 1Assemble the SST so that depth L is as specified.
 05U0BX-214
| Specification | Value |
|---|---|
| Depth LSST valve seal installer | 18.3—18.5mm (0.720—0.728 in) |
Depth LSST valve seal installer
18.3—18.5mm (0.720—0.728 in)
Valve Seal Installation (continued)
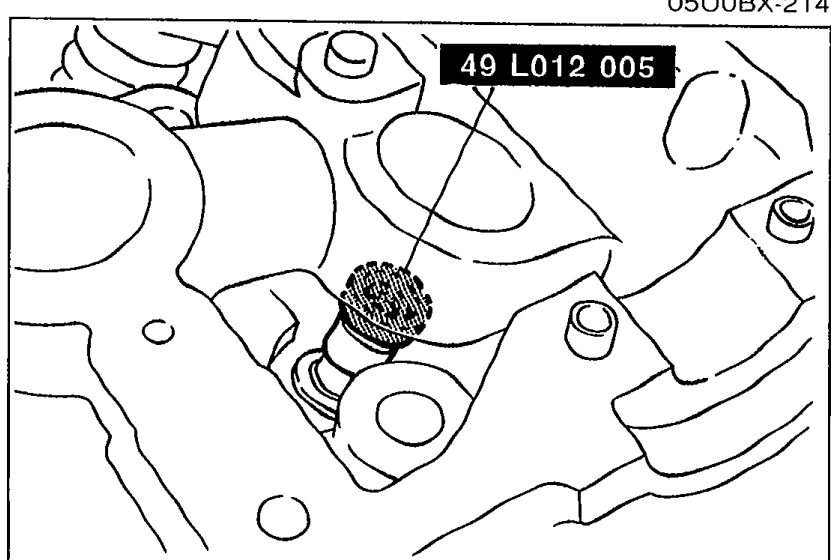
- 2Slide the valve seal onto the valve guide.
 05U0BX-215
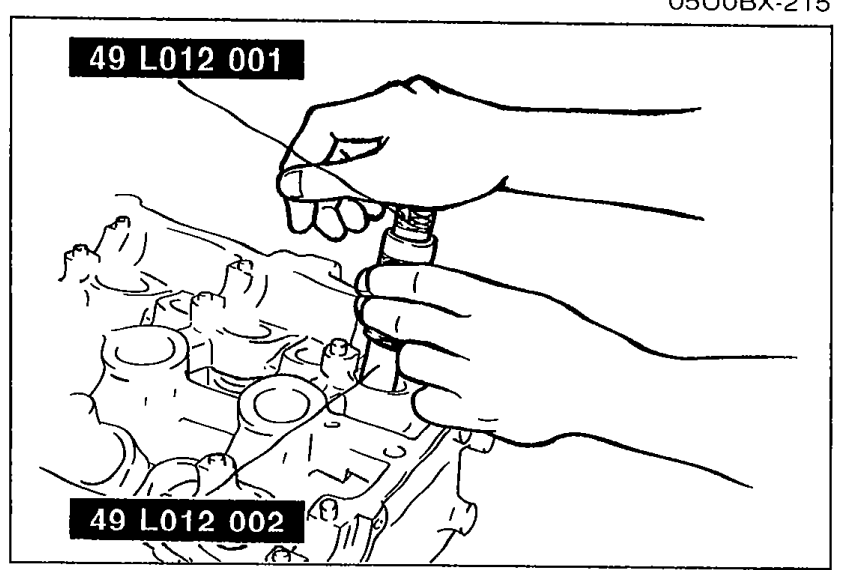
 - 3Set the SST against the valve seal.
CAUTION
Do not use a hammer.
Valve Seal Installation (continued)
- 4Press the valve seal on until the SST contacts the cylinder head.
 05U0BX-216
Valve and Valve Spring
Valve and Valve Spring Installation
- 1Install the lower spring seat.
 05U0BX-217
 - 2Install the valve.
CAUTION
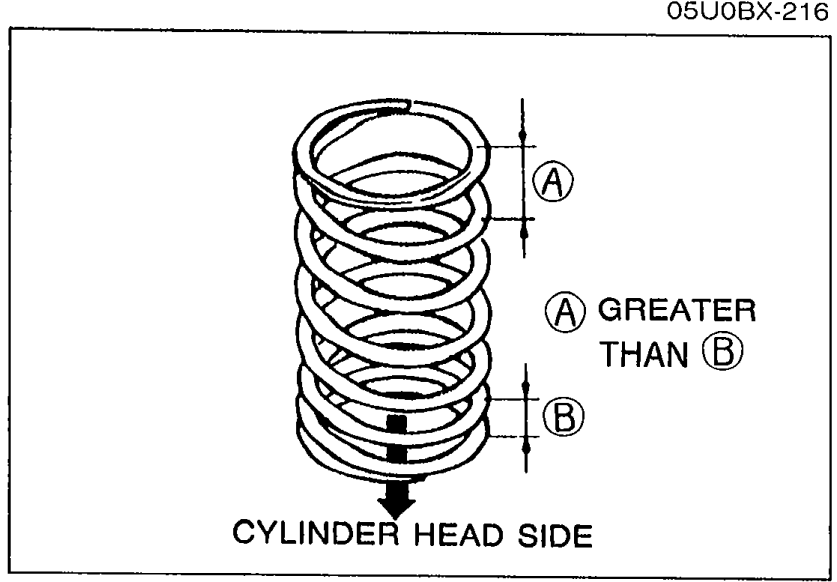
Install the spring with the closer pitch toward the cylinder head.
Valve and Valve Spring Installation (continued)
- 3Install the valve spring and the upper spring seat.
- 4Compress the valve spring with the SST, and install the valve keepers.
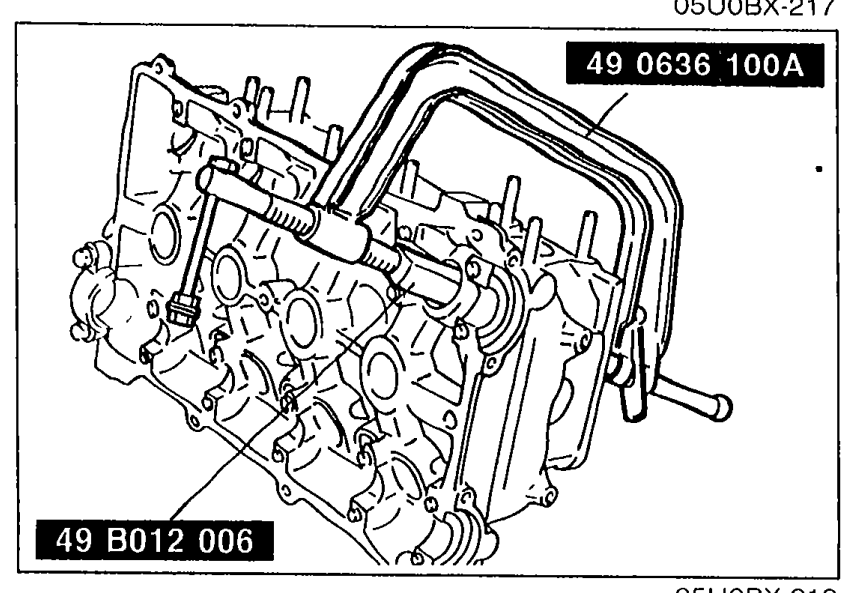 05U0BX-218
 - 5Remove the SST.
- 6Tap the end of the valve stem lightly two or three times with a plastic hammer to verify that the keepers are all fully seated.