
DISASSEMBLY
B-46prose procedureDisassembly Note
Connecting rod cap
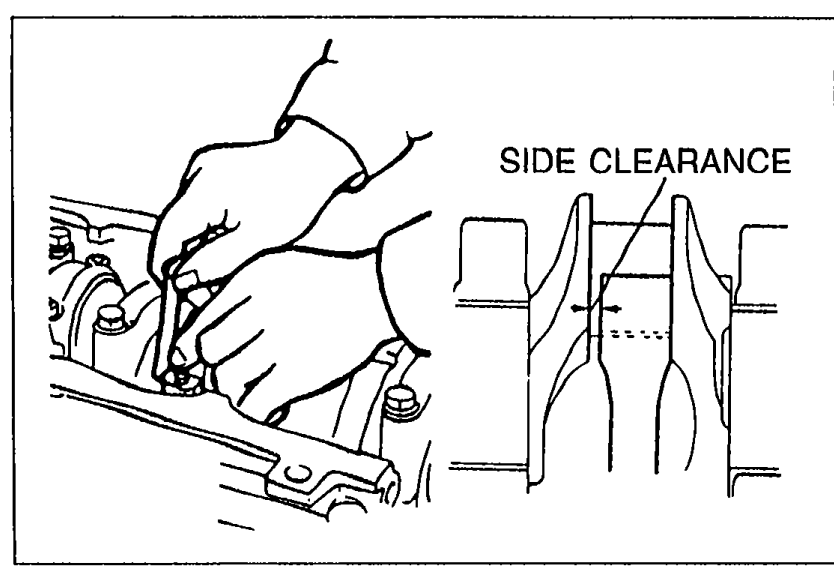
- 1Before removing the connecting rod caps, measure the connecting rod side clearance. (Refer to page B-65.)
 05U0BX-110
Connecting rod
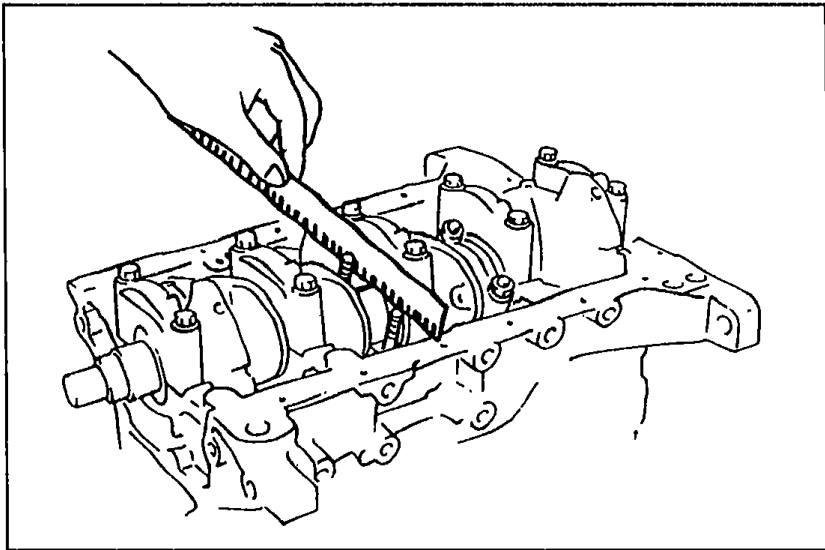
- 1Before removing the connecting rods, measure the connecting rod oil clearance. (Refer to page B-65.)
 05U0BX-111
 - 2Remove the Plastigage from the crankpin journals.Do not scratch the crankshaft journal or the cylinder wall.
 05U0BX-112
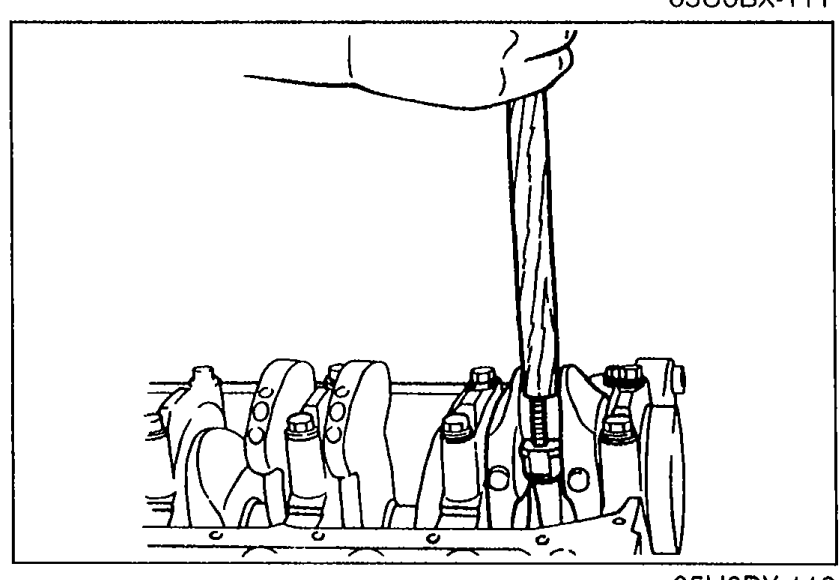
 - 3Use the handle of a hammer to remove the piston and connecting rod assembly through the top of the cylinder block.
CAUTION
• Do not scratch the crankshaft journal or the cylinder wall.
Piston ring
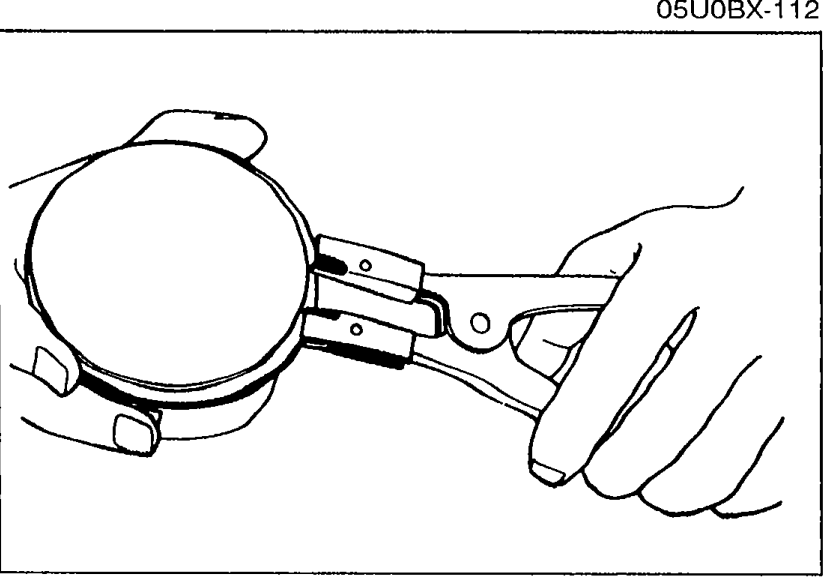
- 1Remove the piston rings with a piston ring expander (commercially available).Do not apply excessive tension, which may cause the rings to snap out.
 05U0BX-113
CAUTION
• Do not apply excessive tension, which may cause the rings to snap out.
Piston pin
- 1Remove the piston pin with the SST.Mark the connecting rod direction for proper reassembly.
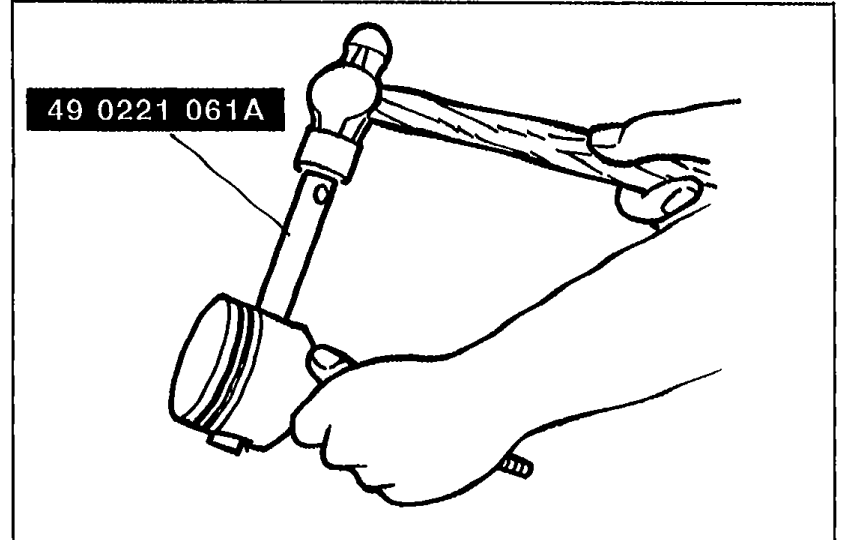 05U0BX-114
CAUTION
• Mark the connecting rod direction for proper reassembly.